


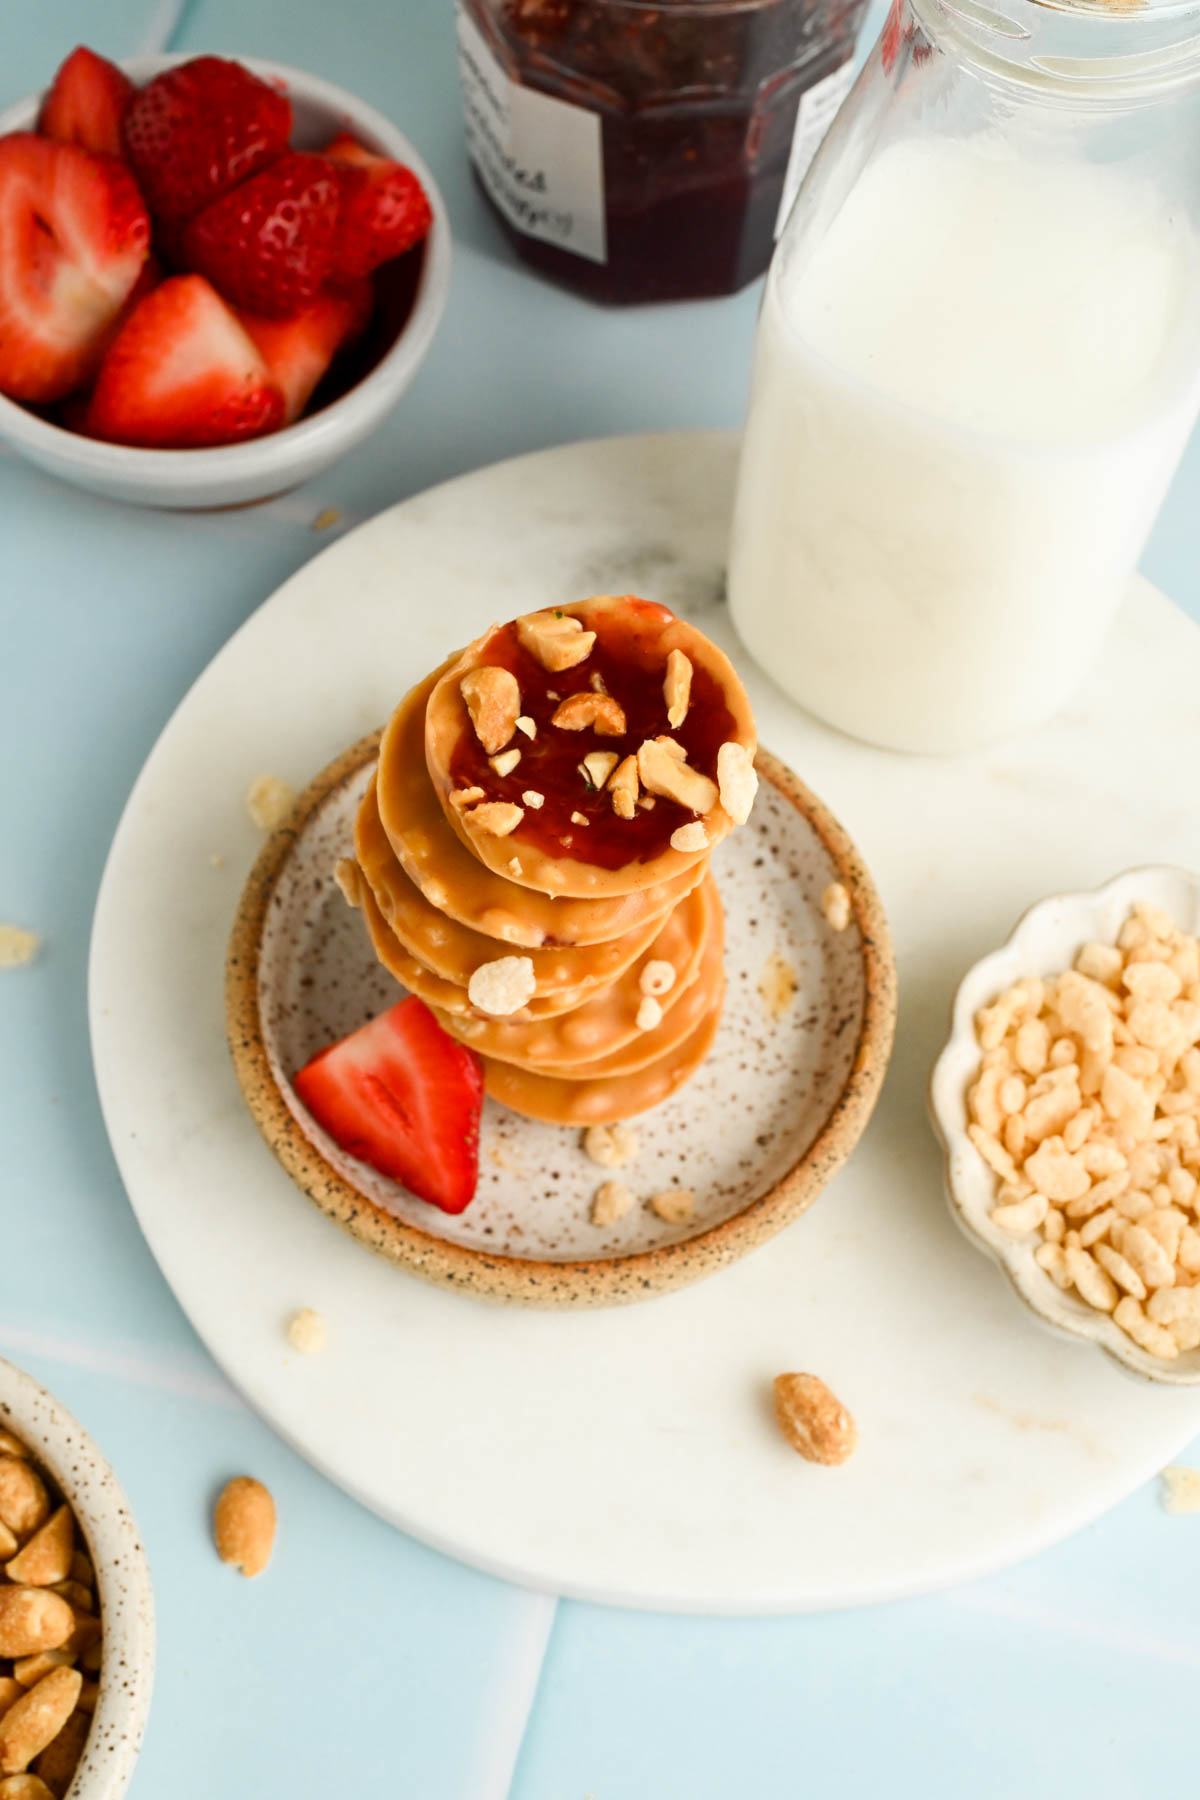
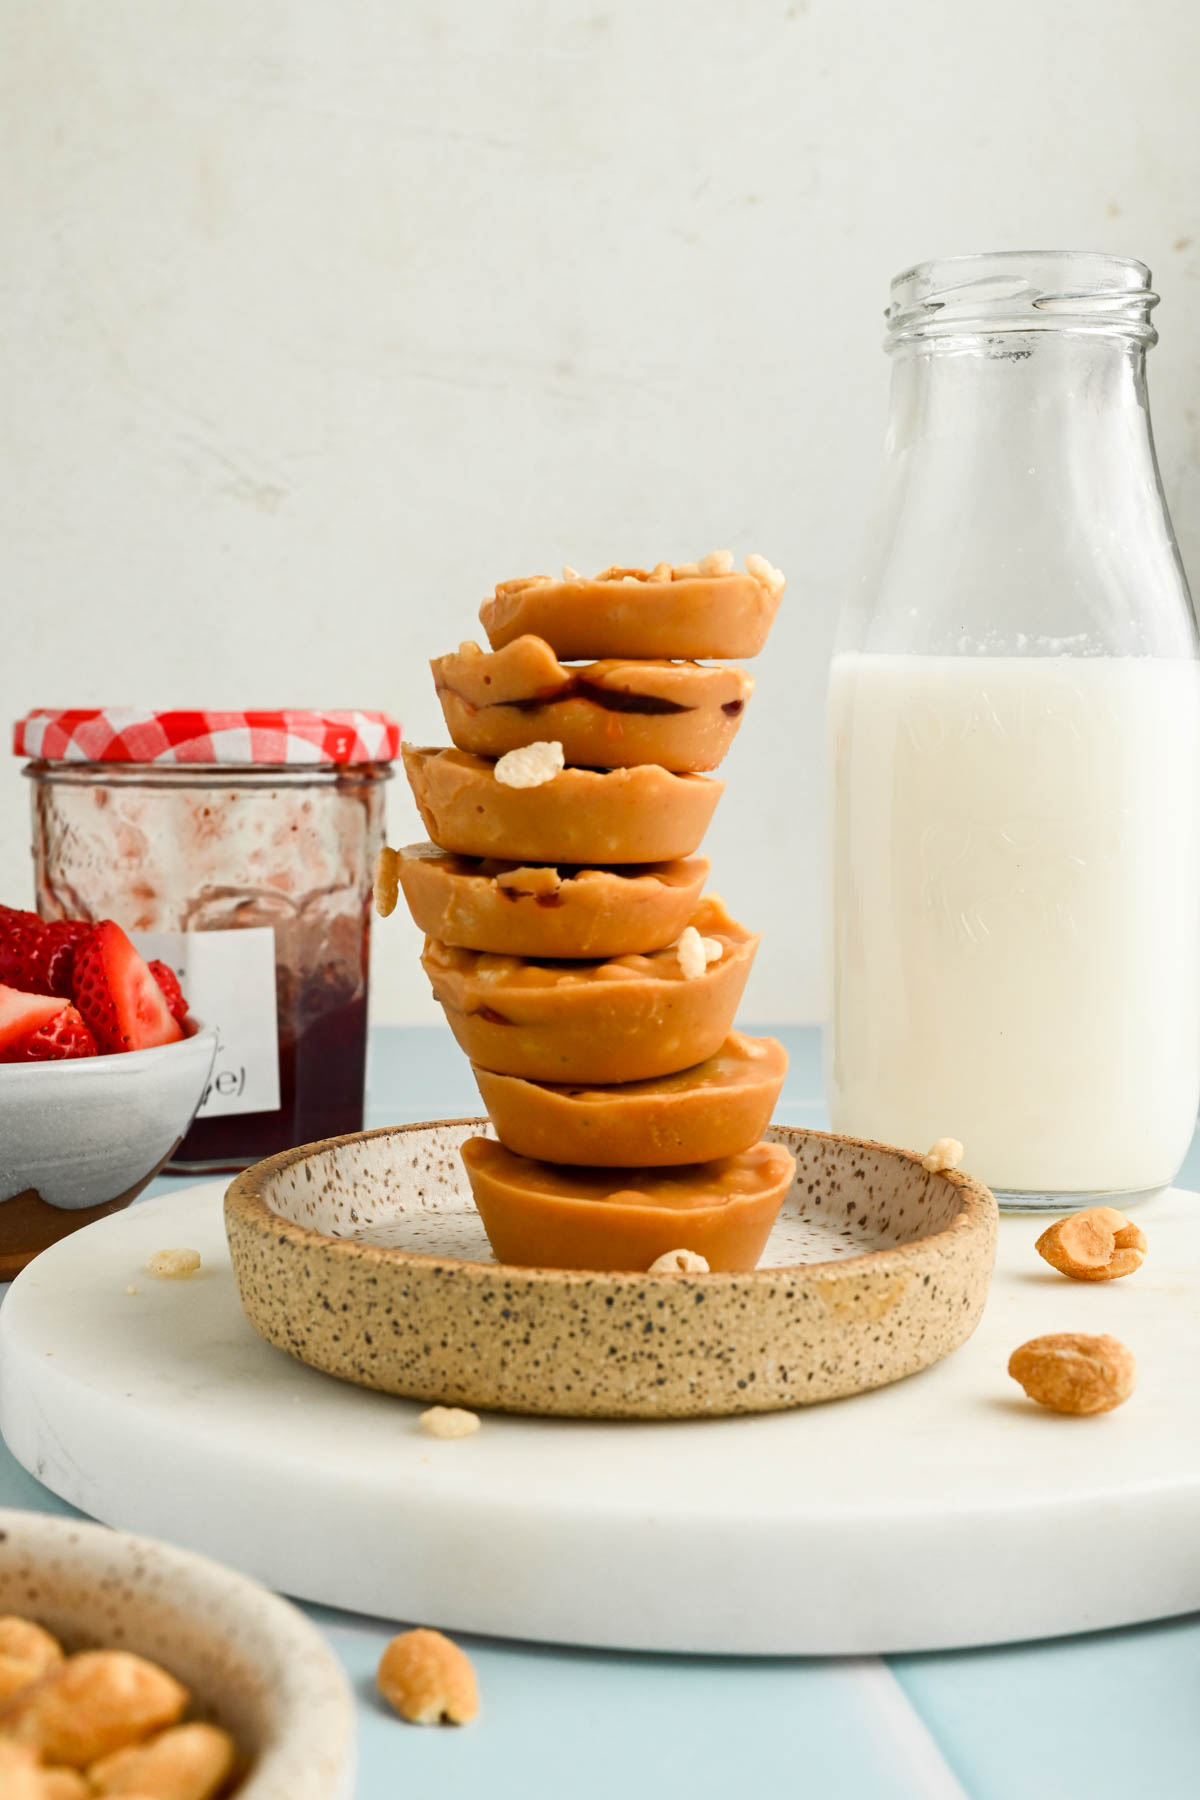
These Peanut Butter and Jelly Cups combine creamy peanut butter with Rice Krispie cereal to create the perfect crunch shell which wraps a center of sweet strawberry jam for a delightful twist on the classic sandwich. Perfect for a quick snack or a fun dessert, they’re sure to satisfy both kids and adults alike.
Peanut Butter Jelly Time!!!
Lately the Peanut Butter and Jelly G2G Bars (code APOP) have been my JAM (no pun intended ;)), so I wanted to come up with more ways to use the classic flavor combination. This Grilled Peanut Butter and Jelly Sandwich is a great way to start, but I wanted something a little more snackable.
Enter these Peanut Butter and Jelly Cups. They’re a fun treat with a crunch peanut butter outside and flavorful jam core. Hang with me here, but the remind me a little bit of a Crunch bar, a Reese’s peanut butter cup, peanut butter truffle and an Uncrustable all in one.
This recipe was inspired by my friends over at Fit Foodie Finds. They have a Peanut Butter Chocolate Crispy Rice Cups and it tastes just like a crunch bar. I’m obsessed with the texture, which led me to include Rice Krispies cereal in these pb&j cups, too! And I love that it’s a no bake recipe!
Recipe Ingredients
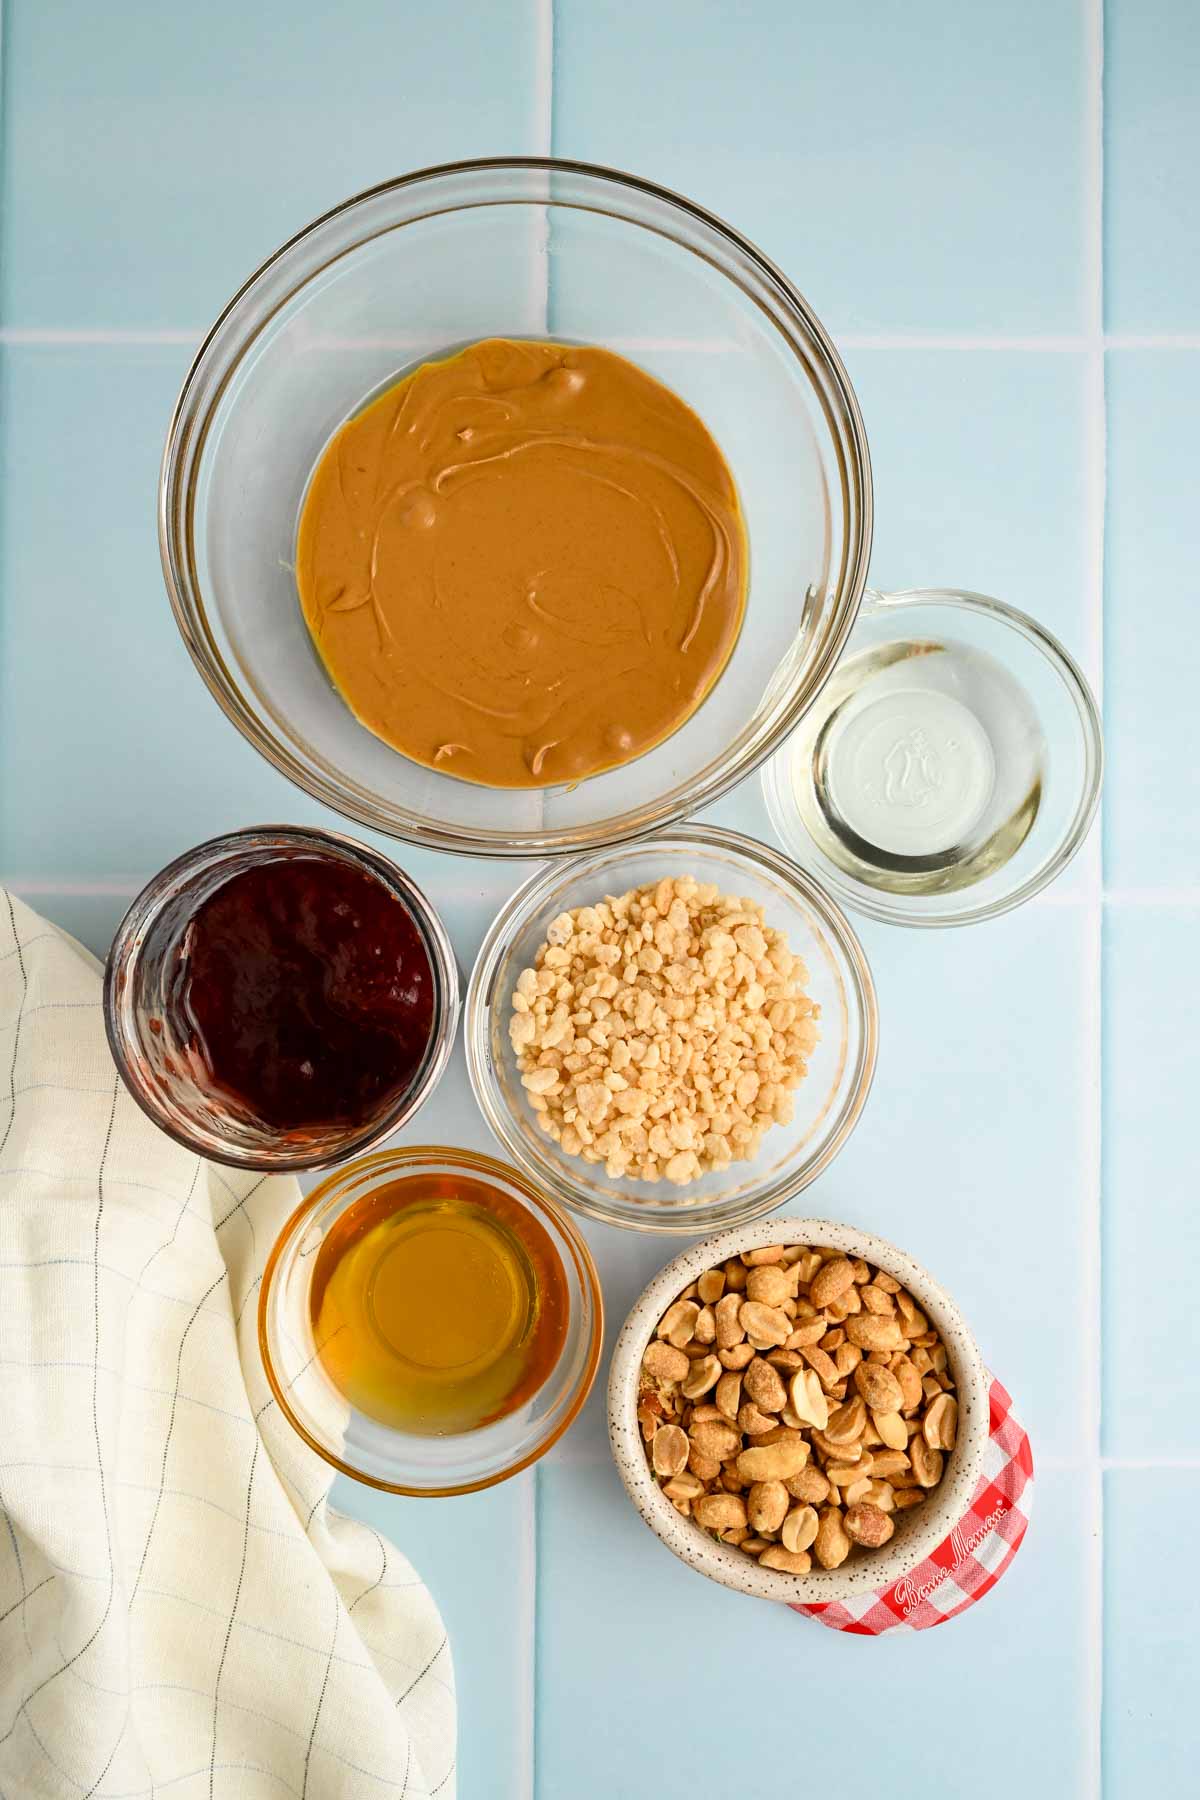
Only a few simple ingredients are needed to make this peanut butter cup recipe:
- Creamy Peanut Butter – You want a solid, smooth peanut butter like Skippy or Jif. The peanut butter bites will be too oily if you use natural/drippy Peanut Butter (like Smuckers or Kirkland).
- Coconut Oil – To thin out the delicious peanut butter.
- Strawberry Jam – Use your favorite jam! It goes in the middle of each peanut butter layer.
- Optional: Crushed peanuts or sea salt for topping.
See the recipe card below for a full list of ingredients and measurements.
Substitutions and Variations
- Any kind of jelly, jam, or fruit preserves will work! Triple berry, raspberry jam, or blueberry!
- Peanut allergy? No problem. You can use any nut or seed butter (like sun butter). I’ve tried with almond butter and they were tasty. I think cashew butter would be good, too.
- Switch up the cereal. You could try this with crushed chex instead of Rice Krispies or another puffed rice variety.
- Want a sweeter, more-dessert like treat? Make these with melted dark chocolate bar or milk chocolate chips instead of peanut butter or do the bottom layer chocolate and the top peanut butter for a little Reese’s action. If you’re doing a chocolate version, you may even want to try orange marmalade instead of a berry jam for a flavor combination similar to these Chocolate Covered Oranges.
How to Make This Recipe
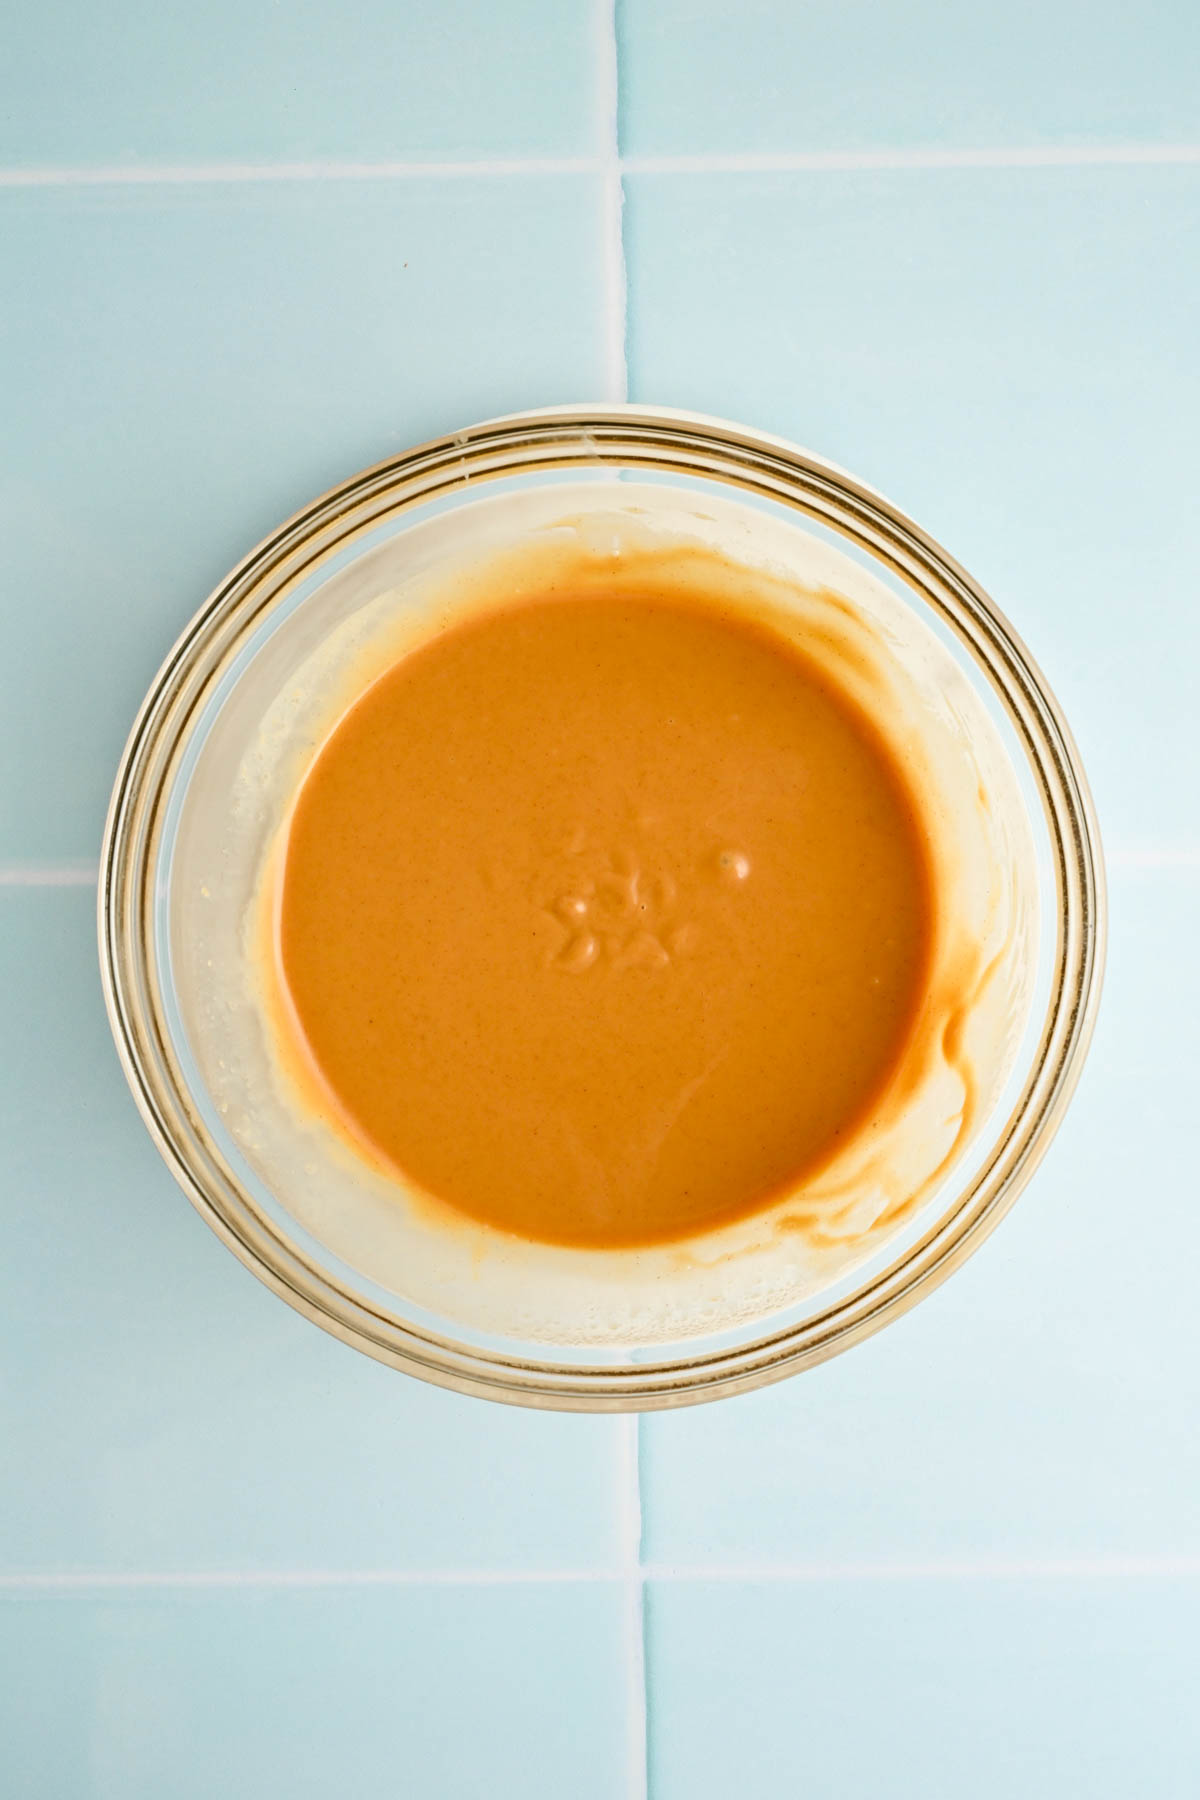
1. Melt coconut oil in a small bowl. Then whisk together creamy peanut butter, honey, and melted coconut oil in a medium-sized bowl until it’s combined.
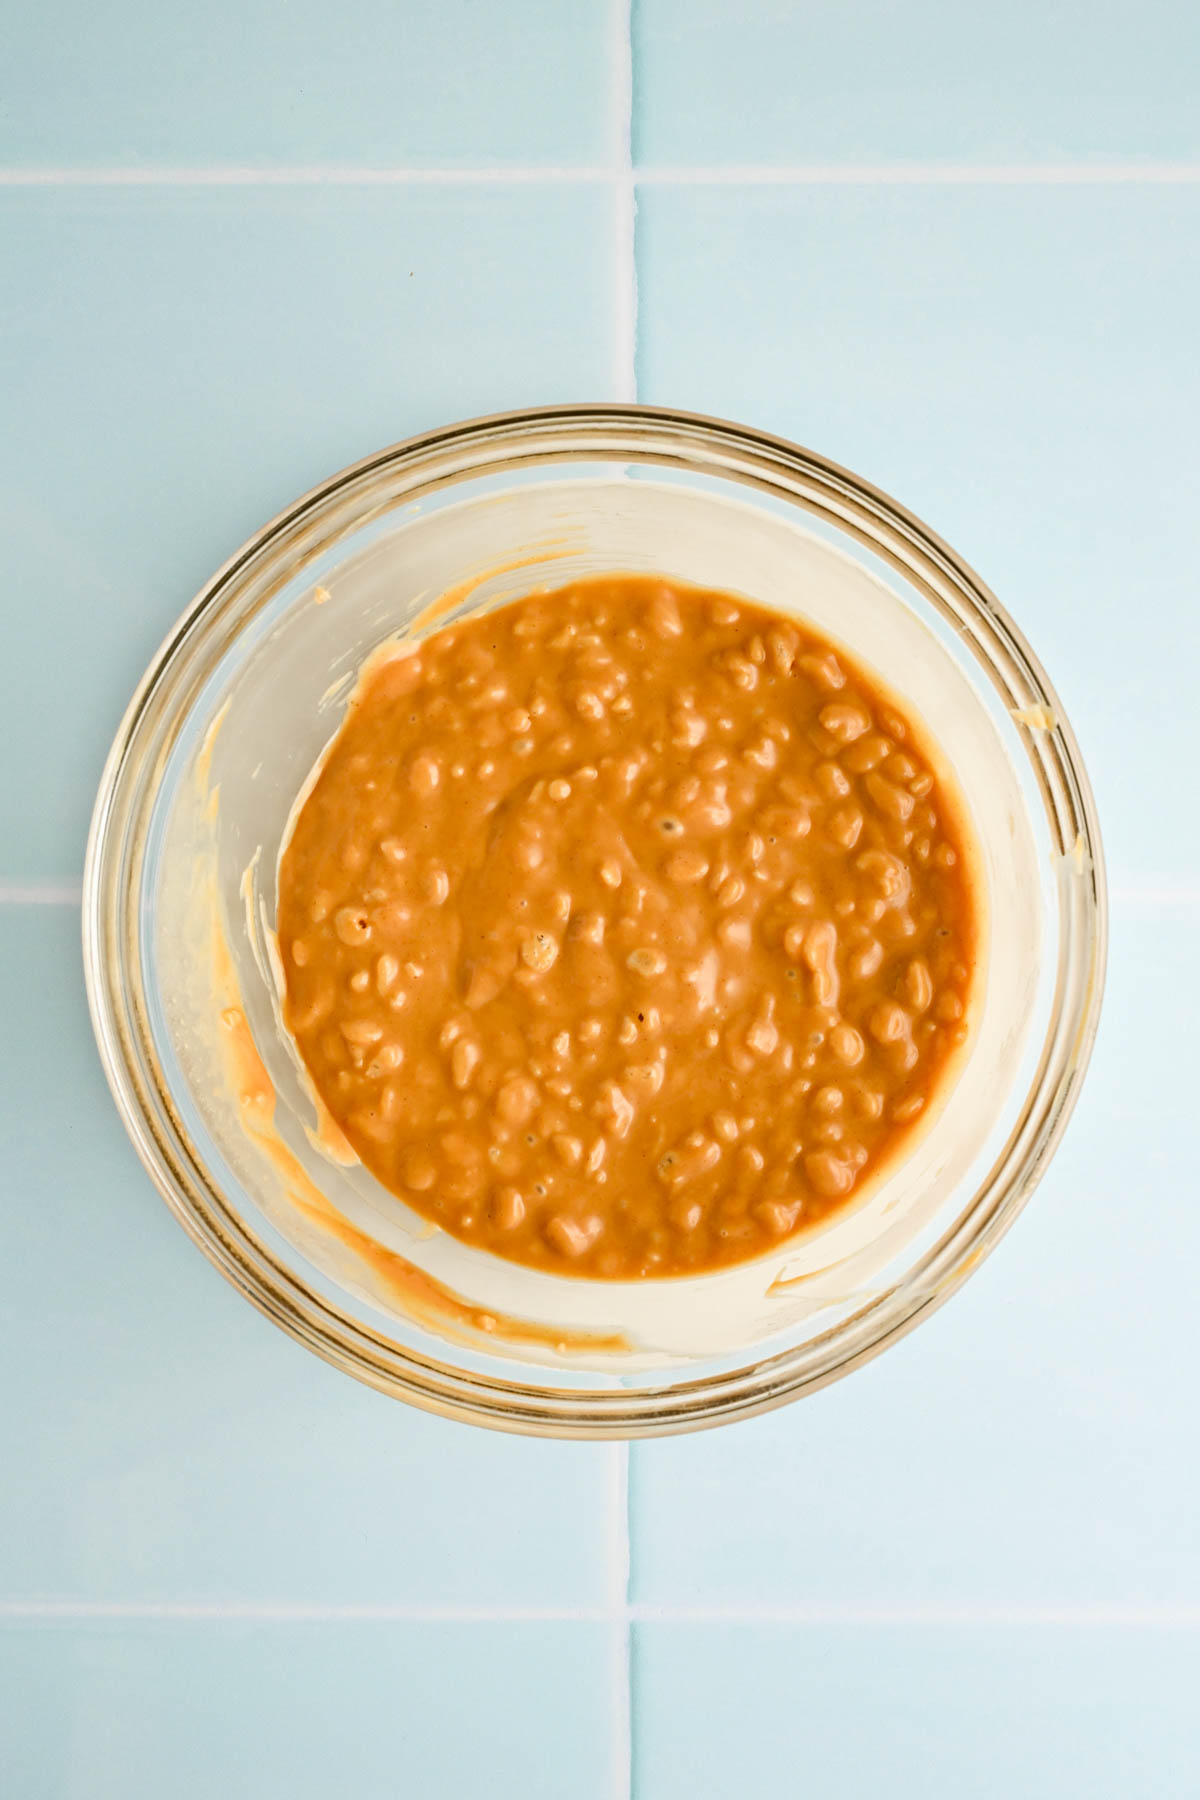
2. Fold in rice crispy cereal and mix again. Place the silicone mini muffin tray on a baking sheet. This is the foundation for the mold (otherwise it will fold).
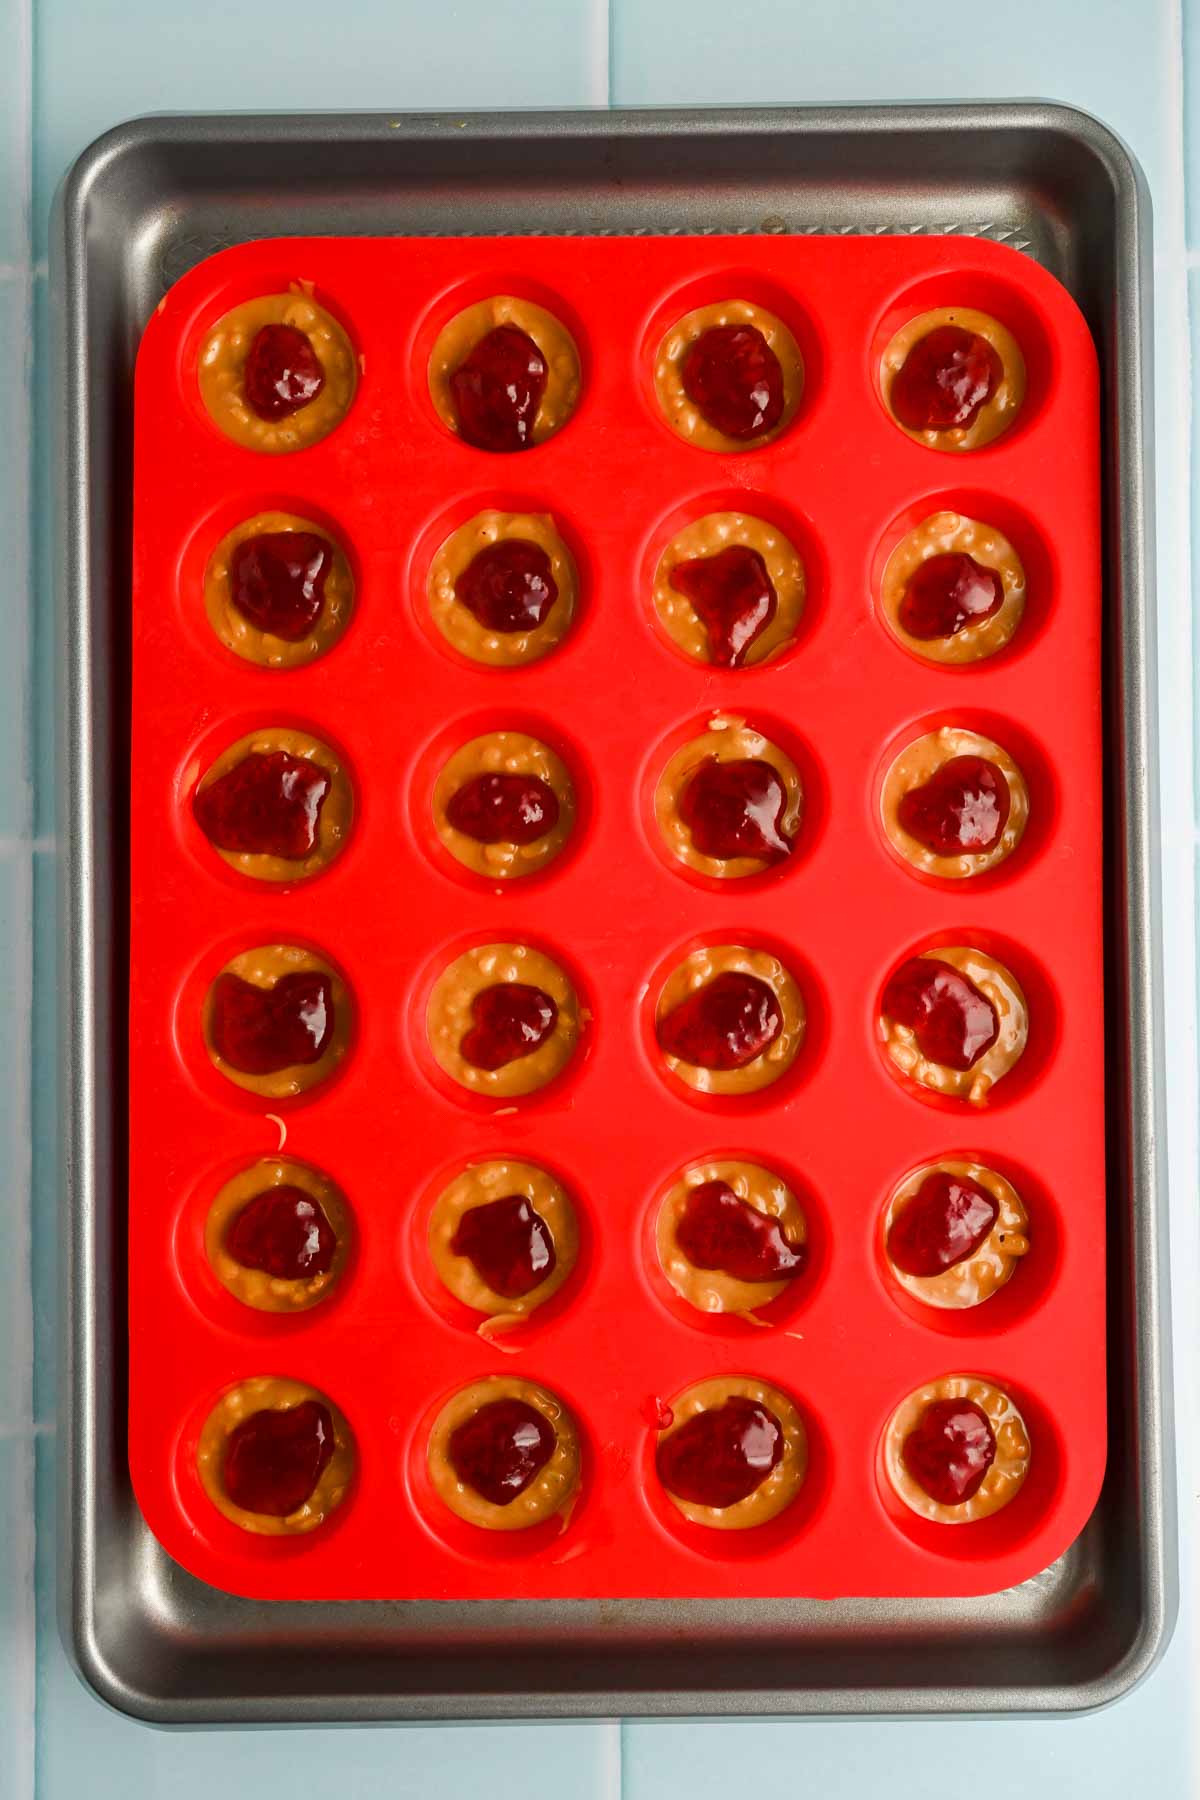
3. Scoop approximately ~⅔ of the batter into the molds. Repeat until you’ve evenly distributed the 24 liners. Scoop a ½ teaspoon of jam into each peanut butter cup. I like to dip the teaspoon directly into the jam jar – it is the easiest and cleanest method. Repeat for all cups.
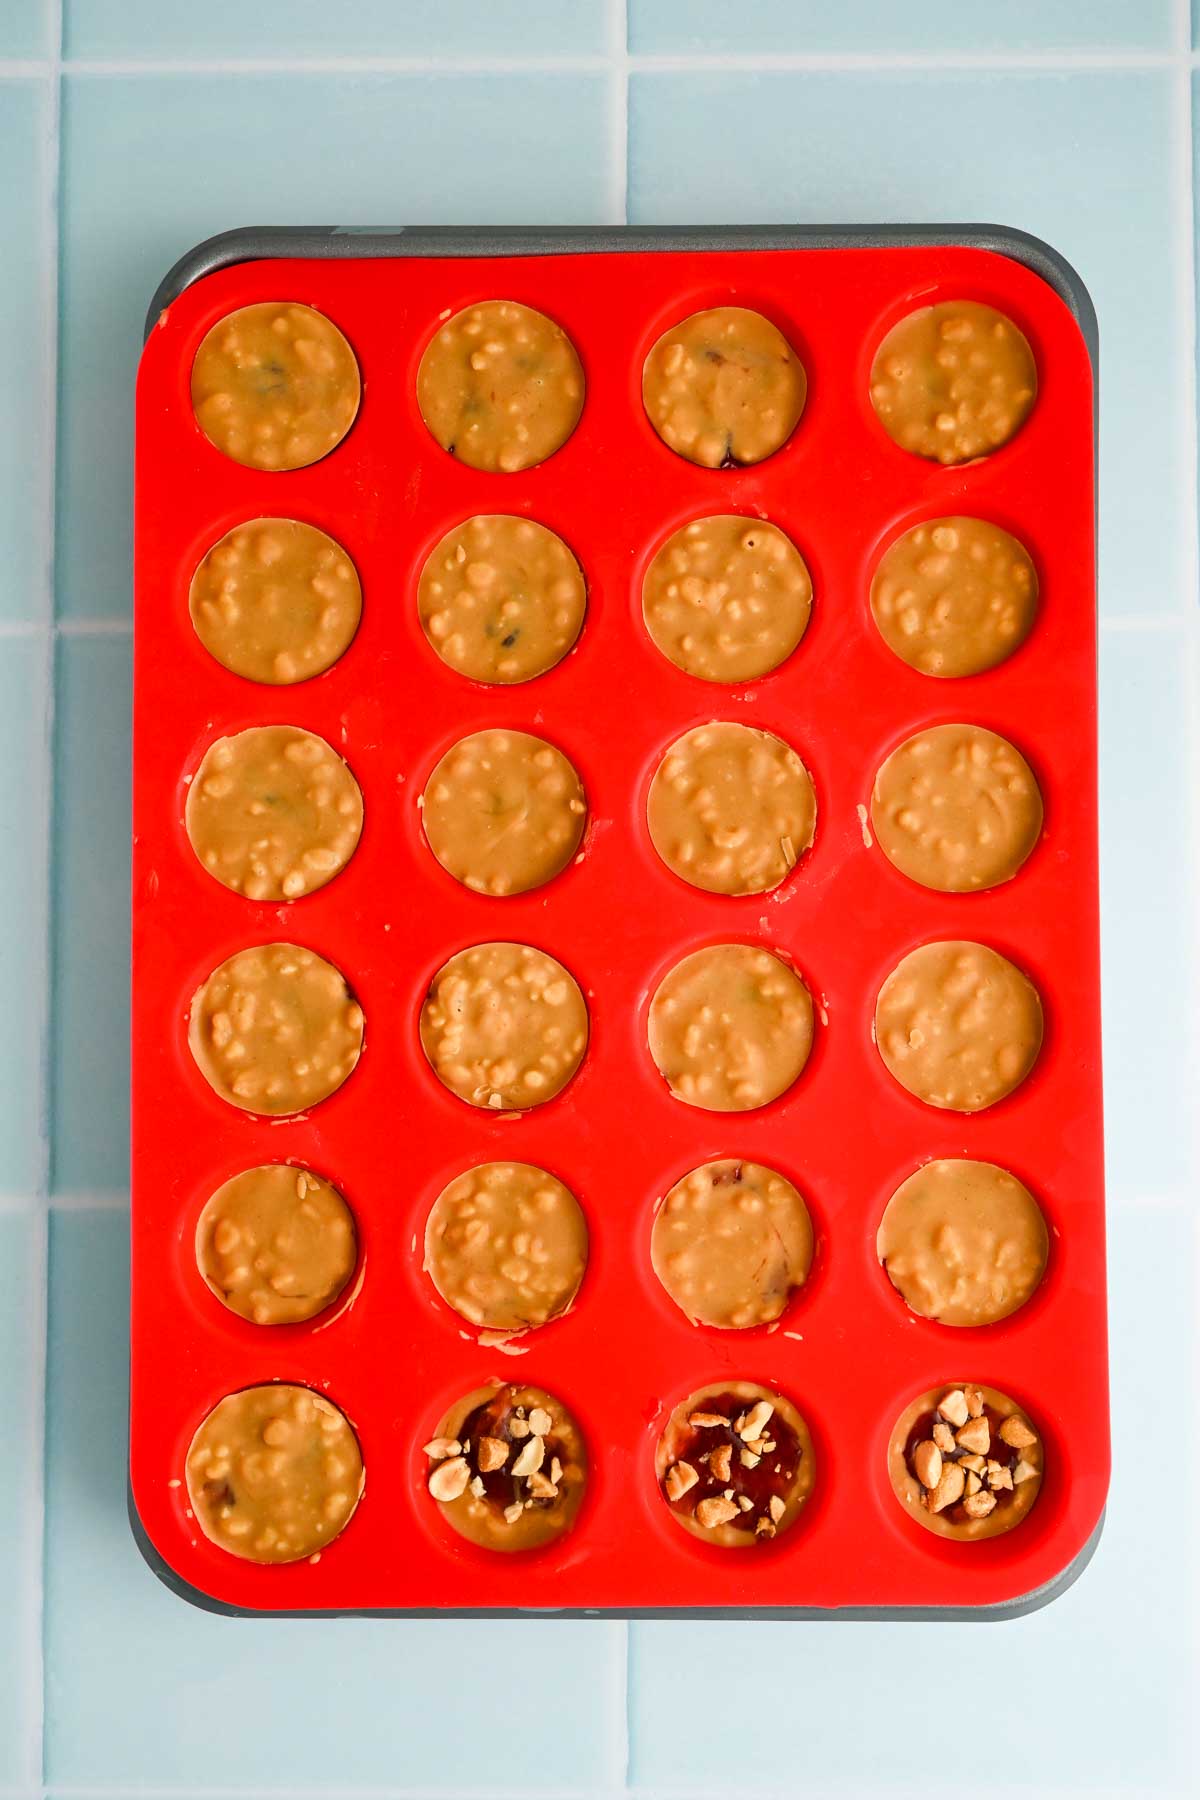
4. Top all of the cups with the remaining peanut butter mixture and use the back of a spoon to smooth out the top layer. Optional: sprinkle a few crushed peanuts on top for extra crunch! Transfer the silicone muffin pan to the freezer and let set for 10-15 minutes and enjoy!
PRO TIPS
- Warm up the peanut butter for 30 seconds before combining it with the melted coconut oil, it will make combining super easy!
- Freeze these cups!! They will take half the amount of time AND they will hold better while stored.
- You want a solid, smooth peanut butter like Skippy or Jif. The peanut butter bites will be too oily if you use natural/drippy Peanut Butter (like Smuckers or Kirkland).
Recipe FAQs
Store in the freezer for up to 3 months either in the silicone mold or in a freezer bag. They hold better (and don’t stick together) with mini cupcake liners if stored in a freezer bag. Let thaw for a couple of minutes before enjoying so you don’t hurt your teeth!
You can use a mini muffin tin with mini liners (I don’t recommend skipping the liners. The cups will me hard to remove without ruining the shape)
With the honey, no. But you can make a vegan variety by substituting in maple syrup instead.
These bites are fairly healthy with protein from the peanut butter and nutrients in the fruit jam. I would opt for a jelly and peanut butter without refined sugar to ensure a healthy snack.
Jelly is smooth and gel-like vibe, courtesy of its fruit juice base mixed with sugar and pectin, while jam brings a chunkier consistency because it’s made from crushed or chopped fruit. Either one works in this recipe!
Serving suggestions
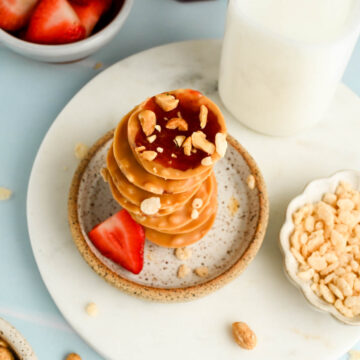
My fiance enjoys these homemade peanut butter cups after dinner – usually 2-3 of them and they’re the perfect sweet treat!
More Peanut Butter Recipes You’ll Love
Love this recipe? Please leave a 5-star 🌟🌟🌟🌟🌟 rating and comment in the recipe card below. Thanks for visiting!
Peanut Butter and Jelly Cups
Equipment
- mini Silicone muffin mold
- medium mixing bowl
- small glass bowl
- Whisk
- Rubber Spatula
- cookie scooper/spoon
- Measuring cups and spoons
Ingredients
- 2/3 cup creamy peanut butter, Skippy or Jif (not drippy)
- 3 tbsp coconut oil
- 1/3 cup honey
- 1/3 cup Rice Krispie cereal
- 6 tsps strawberry jam, divided
Instructions
- Melt coconut oil in a small bowl.
- Whisk together creamy peanut butter, honey, and melted coconut oil in a medium-sized bowl until it’s combined.

- Fold in rice crispy cereal and mix again. Place the silicone mini muffin tray on a baking sheet. This is the foundation for the mold (otherwise it would fold).
- Divide approximately ~⅔ of the batter into the molds. Repeat until you’ve evenly distributed between the 24 liners.
- Scoop a ½ teaspoon of jam into each peanut butter cup. **I like to dip the teaspoon directly into the jam jar – it is the easiest and cleanest method. Repeat for all cups.
- Top all of the cups with the remaining peanut butter mixture and use the back of a spoon to smooth out the top layer. Optional: sprinkle a few crushed peanuts on top for extra crunch!
- Transfer the silicone muffin pan to the freezer and let set for 10-15 minutes or the fridge for 1 hour and enjoy!


Nutrition
Video
Notes
Looking for this in MyFitnessPal?
If you’re using MyFitnessPal, search ‘A Paige Of Positivity’ and find Peanut Butter and Jelly Cups calories and nutrition facts. Disclaimer: for most accurate macronutrients and caloric breakdown, it is recommended that you input each ingredient into your MyFitnessPal food diary.
I’d love to hear your thoughts in the comments below. It’s my passion to create dishes that can be shared with others. Tell me something you loved or just say hi!
Such a fun little treat! Nostalgic and so delicious
ummmm, woah these are amazing! I keep them in the freezer and my fiance lovessss them!