

I’ll be the first to admit a couple of years ago (if that) my food photography was subpar. Every photo was immediately taken to VSCO and blasted with the C1 filter. But, I have come a LONG way and I have loved learning through the process. Most of what I know has been a result of trial and error.
The more I’ve practiced the better my photography has become – yes, I’ll say it, practice does make perfect. I don’t know it all, but I’m here to share what’s worked best for me with regards to food photography for food bloggers.
This post may contain affiliate links; please read my disclosure policy.

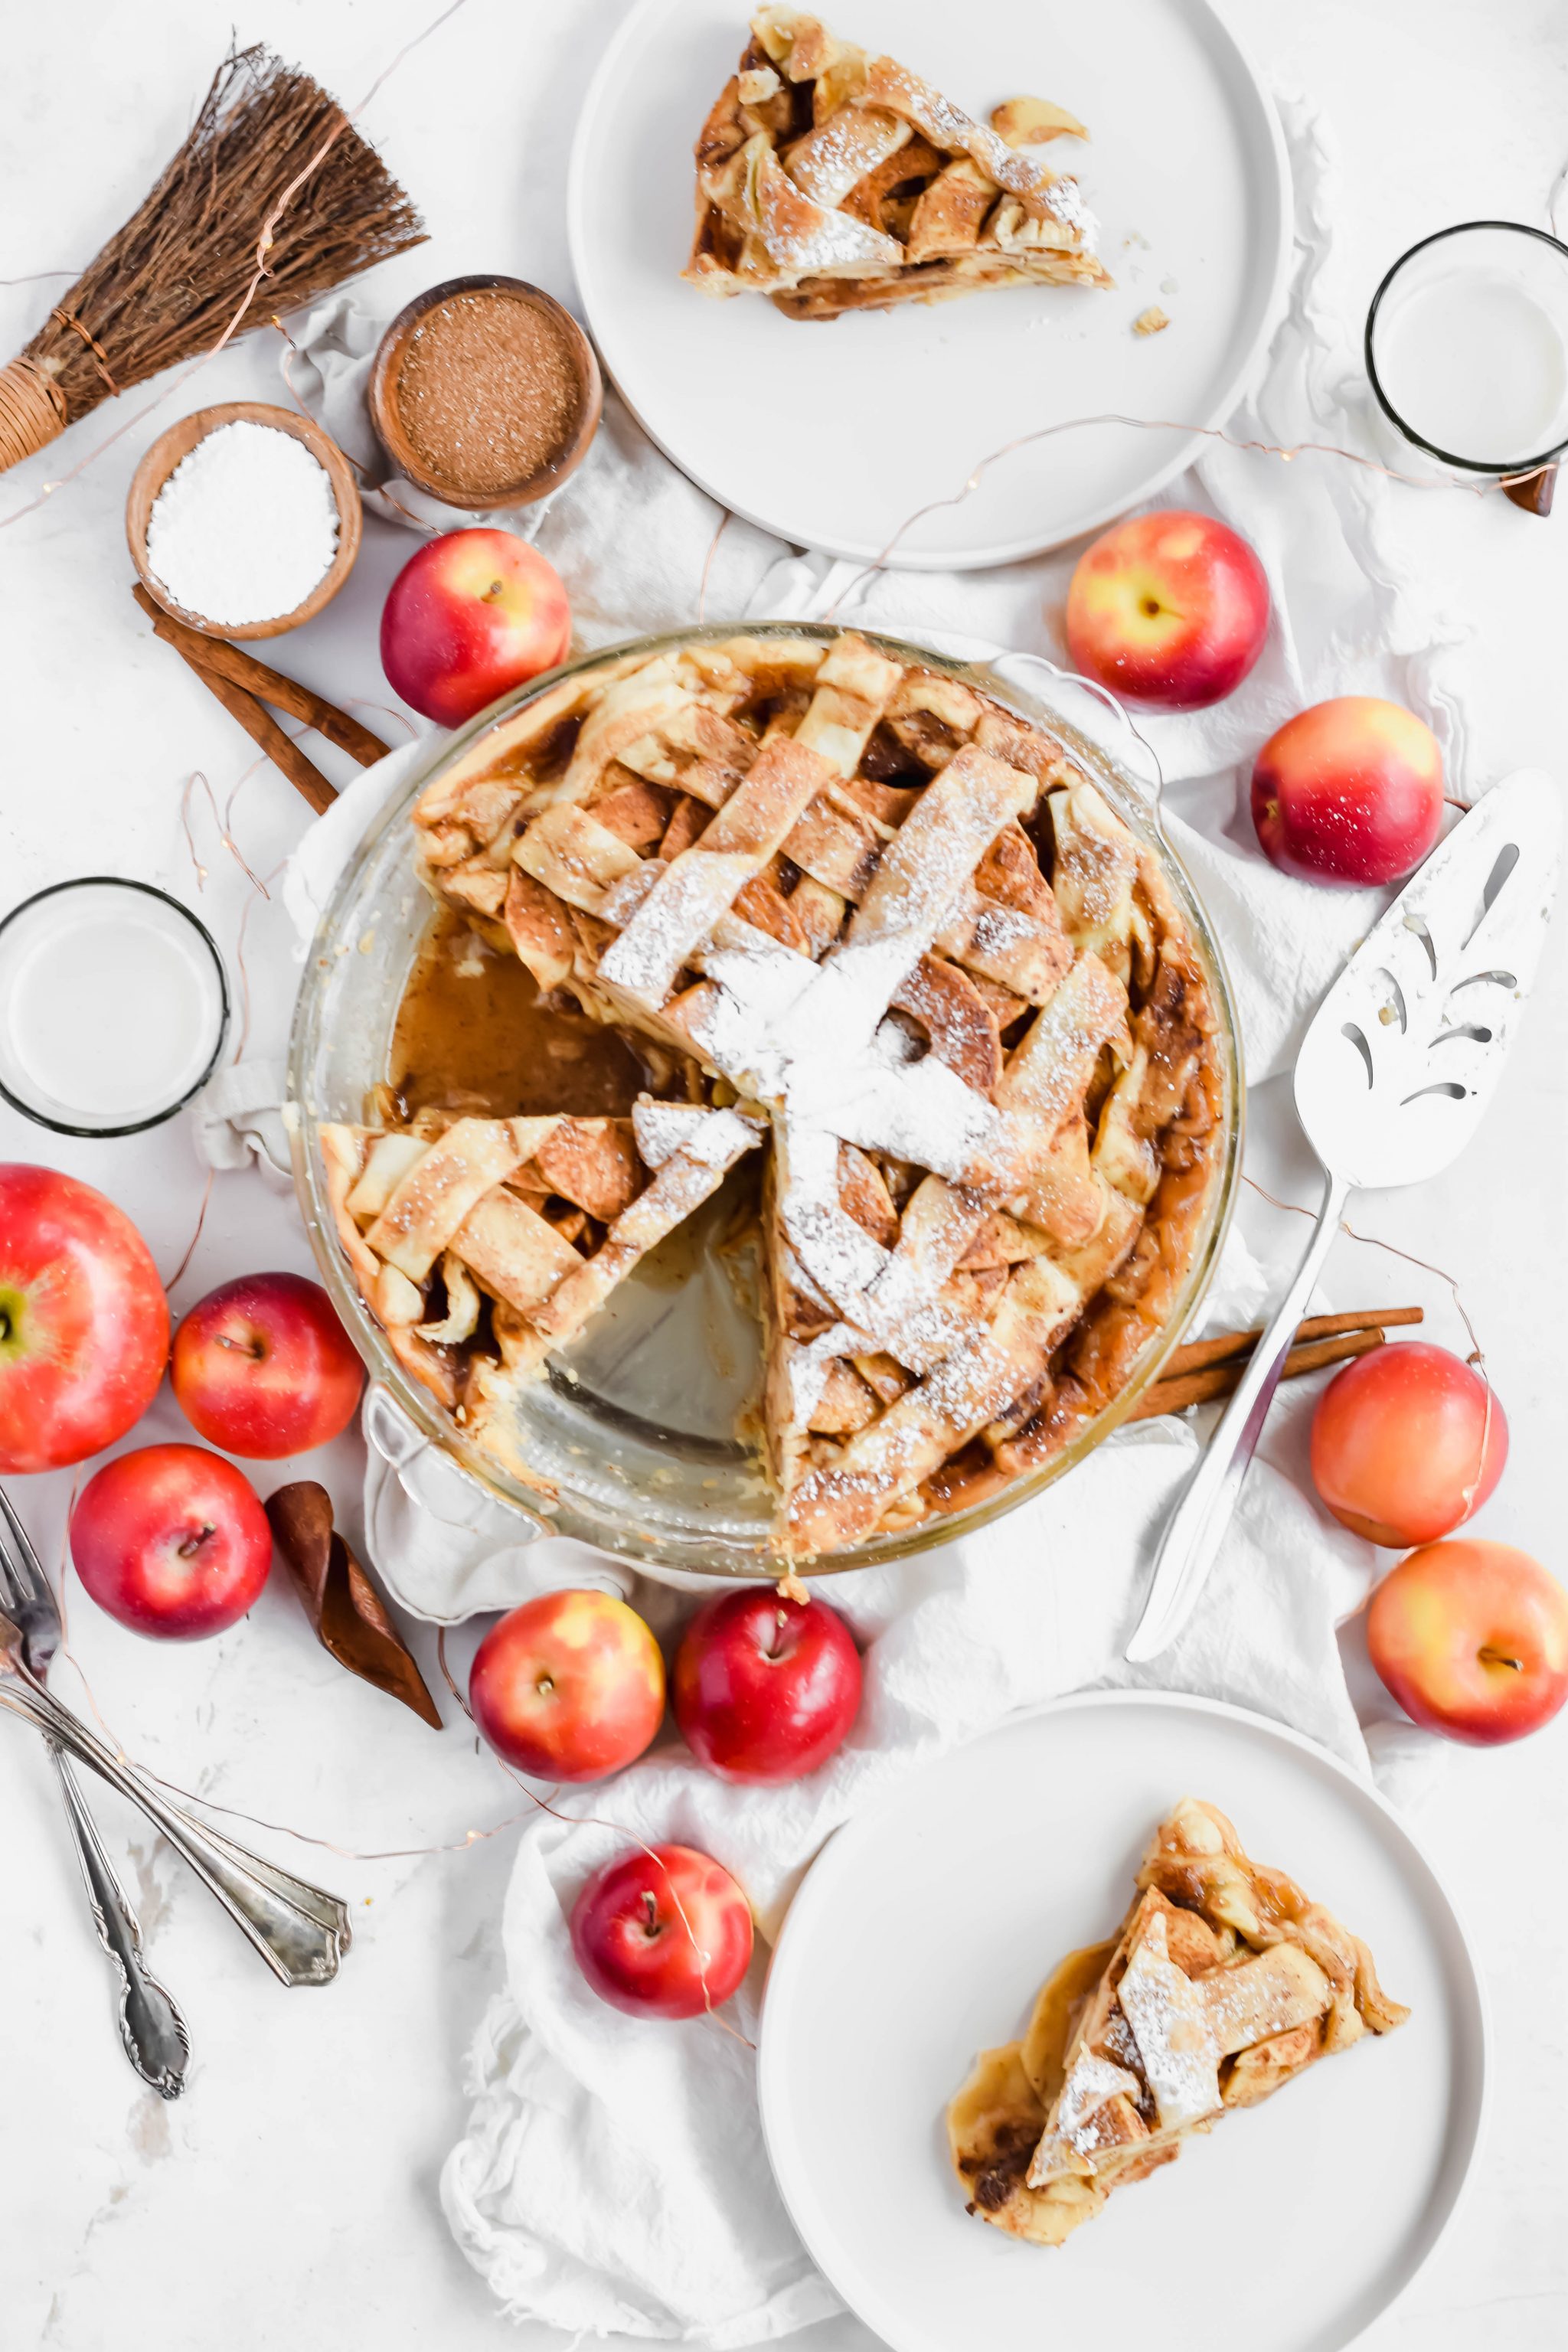
It’s easy to look at the drastic difference in before and afters. I’ll be the first to tell you there was immense amount of growth that happened in 1.5 years. So let’s get into it.
My current camera set up
Every photographer will have their own preference of what camera to use. Read that again. You can pick what works best for you! The lens is more important than the body; especially for food photography.
Biggest tip: before you purchase anything, head to your local camera store and get to understand what you’re going to be working with. Camera equipment is an investment. Knowledge is your super tool when it comes to learning food photography.
I am only a year and a half into using a DSLR camera and teaching myself how to photograph food manually (note: I highly recommend Foodtography School and The Bite Shot on YouTube. They are some of the best in the industry and I’ve learned most of my knowledge from them).
- Food photography: I use a Nikon D330 base with a 50mm lens. Most professional food photographers will recommend the ‘Nifty 50’ lens for beginners; it’s easy to use and gives you enough control of light. I photograph with natural light which means my food is adjacent to the light source!! If it’s sunny, I will use a diffuser (linked under backdrops at the end of this post). I utilize my external hard drives for photo storage. I’m in the market for another lens; something that allows me to manipulate light and sharpness a little bit more. I’m leaning to a 24-72mm OR a 100mm. I’ll keep you posted what I end up purchasing. All this to say, I didn’t choose Nikon. The camera was my sister’s and I’m using it. Heck, I wasn’t even sure I’d like foodphotography. Now that I see my value and the investment needed, I’m in the market for newer equipment.
- Tripods for iPhone videography (Reels + TikTok): Arkon Pro Phone Mount is my most used, with this Phone tripod as an accessory tripod. 95% of the time, I am photographing at the same time I am videoing. The Arkon Pro Phone Mount allows me to film and literally swing the tripod out of the set up, capture a process shot on the camera, and then swing it back. It took me awhile to find a grove with photography and video, but like anything, practice helps 🙂
Editing Resources
For all of the food photos that end up on my blog, I use Lightroom Classic through Adobe Creative Suite (usually not included in the standard bundle). I upload the photos I take from my DSLR camera straight to here and make the magic happen (the magic you see in that glow up of the apple pie above).
If you are a food photographer and you do not have an external hard drive, you absolutely need one. I have two: one is just a backup. Do not wait to lose work before you’re forced to purchase a hard drive. Laptops are not usually big enough to hold the necessary storage of photos.
For all Instagram stories, I use the Tezza app, which has a handful of presets and editing tools. It does cost $3.99/month for both photo and video editing, but I think it’s worth it for its features and functional user interface. I wasn’t sure if I was going to keep using Tezza; however, now I pay for the yearly version. If you see an iPhone edit on my personal photos, it’s 100% likely it’s Tezza.
For making videos & reels, I use the free version of the InShot app. It’s extremely user friendly allowing you to compile a handful of clips, add transitions, edit sound, add music and text, etc. It may not have all the bells and whistles of some of the payed apps, but it gets the job done for what I need.
Where to find photography Props
I believe local antique stores will always have the best props for food photography; though they’re not always easy to find. Amazon is incredibly convenient and has a huge resource library; but you really have to dig for the good ones. I’ve purchased things that I thought I’d love to use in food photography, and then never used them because they didn’t photography well.
Here are a few things I look for when purchasing props:
- Scale: if it’s a 16″ wide cake stand and a foot off of the table, that is going to be HUGE to photograph. Generally, smaller is better. You want to make the food shine, not the dish. I often find myself purchasing smaller things and then using them repeatedly. Try searching for small soup bowls instead of cereal bowls, dessert and tapas plates opposed to a large dinner plate.
- Finish: Matte is wayyy better than shiny. The tarnished cookie tray sitting on a storage shelf somewhere unused, that is a golden ticket. It won’t reflect light, and it’s matte opposed to glossy.
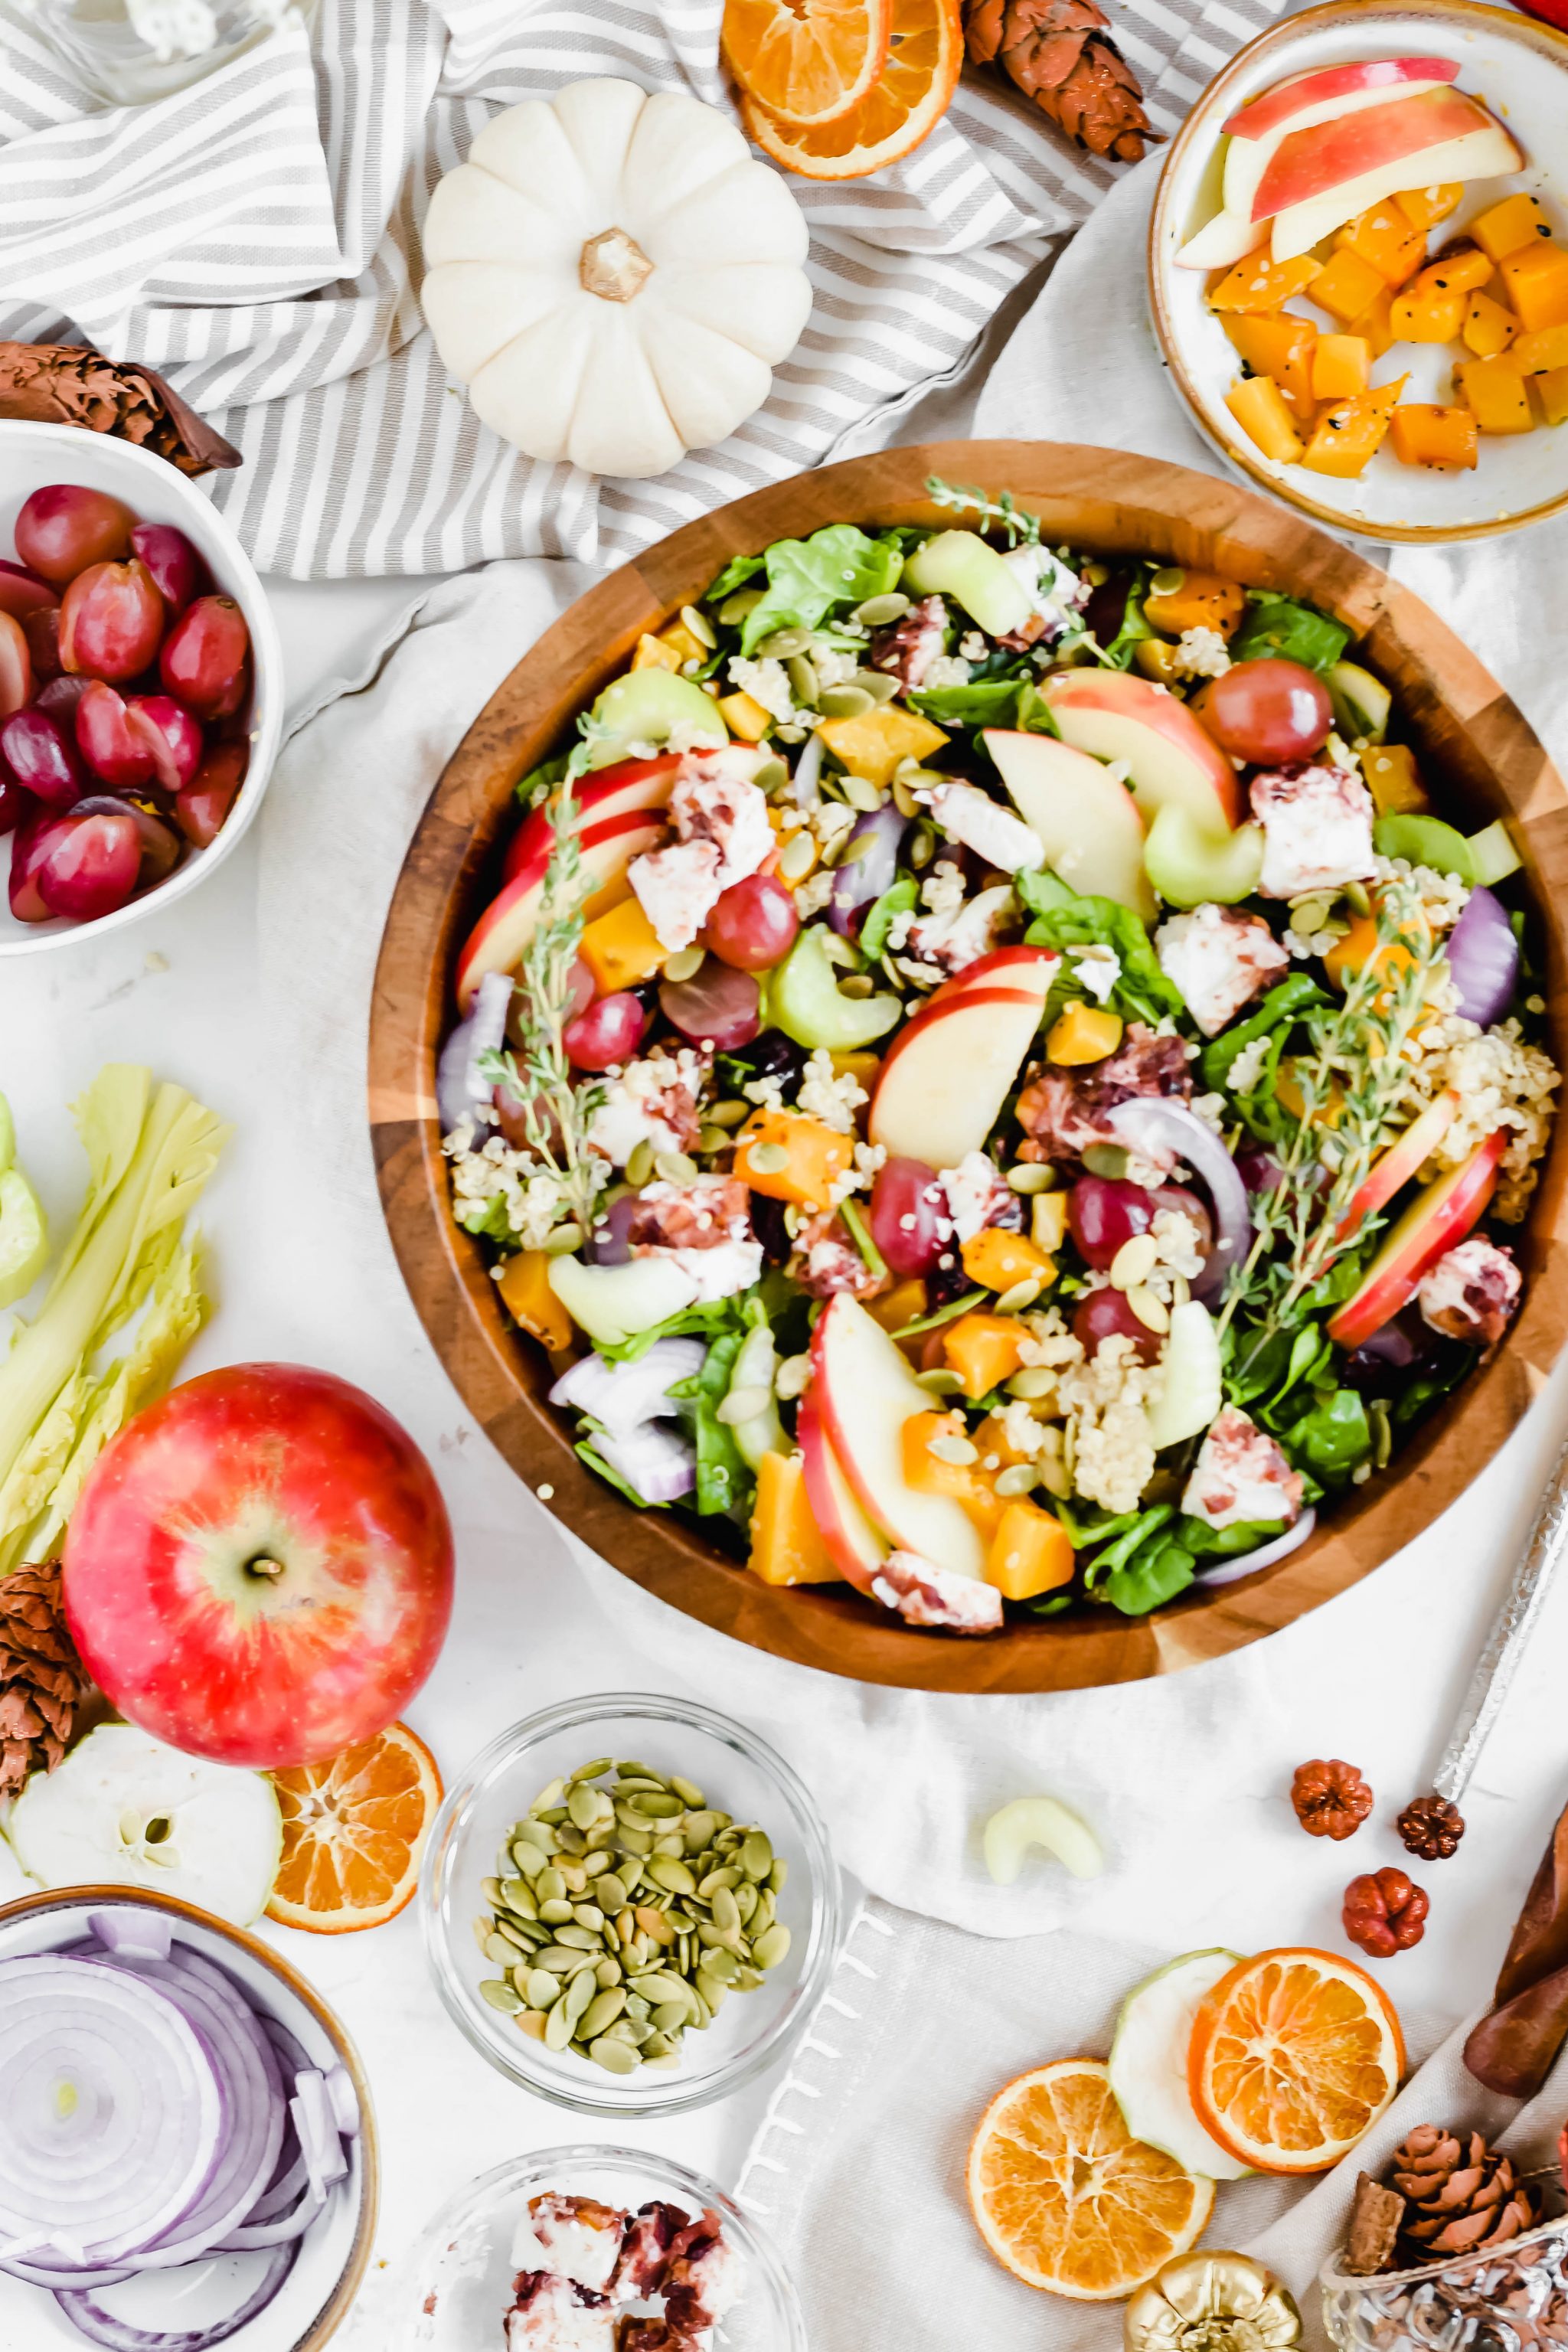
- Color Palette: Every single prop I own is neutral based, with little or no color. Leave that for the food and backdrops. That being said, Texture is equally important. Think handmade ceramics, detailed/tarnished flatware, homemade pottery pieces and linens.
Photography Props
I used to have a dresser in my bedroom designated for food photography props (small apartment problems) – and every time I come home with a new prop, I get an eye roll from Jack because we *don’t have room for more*. However, now that I have a designated closet for props, it’s much easier to keep track of what I already use. I do try to keep my props versatile to be somewhat conscious of space, as well as innovative to keep things budget friendly. Here are a few of my favorites.

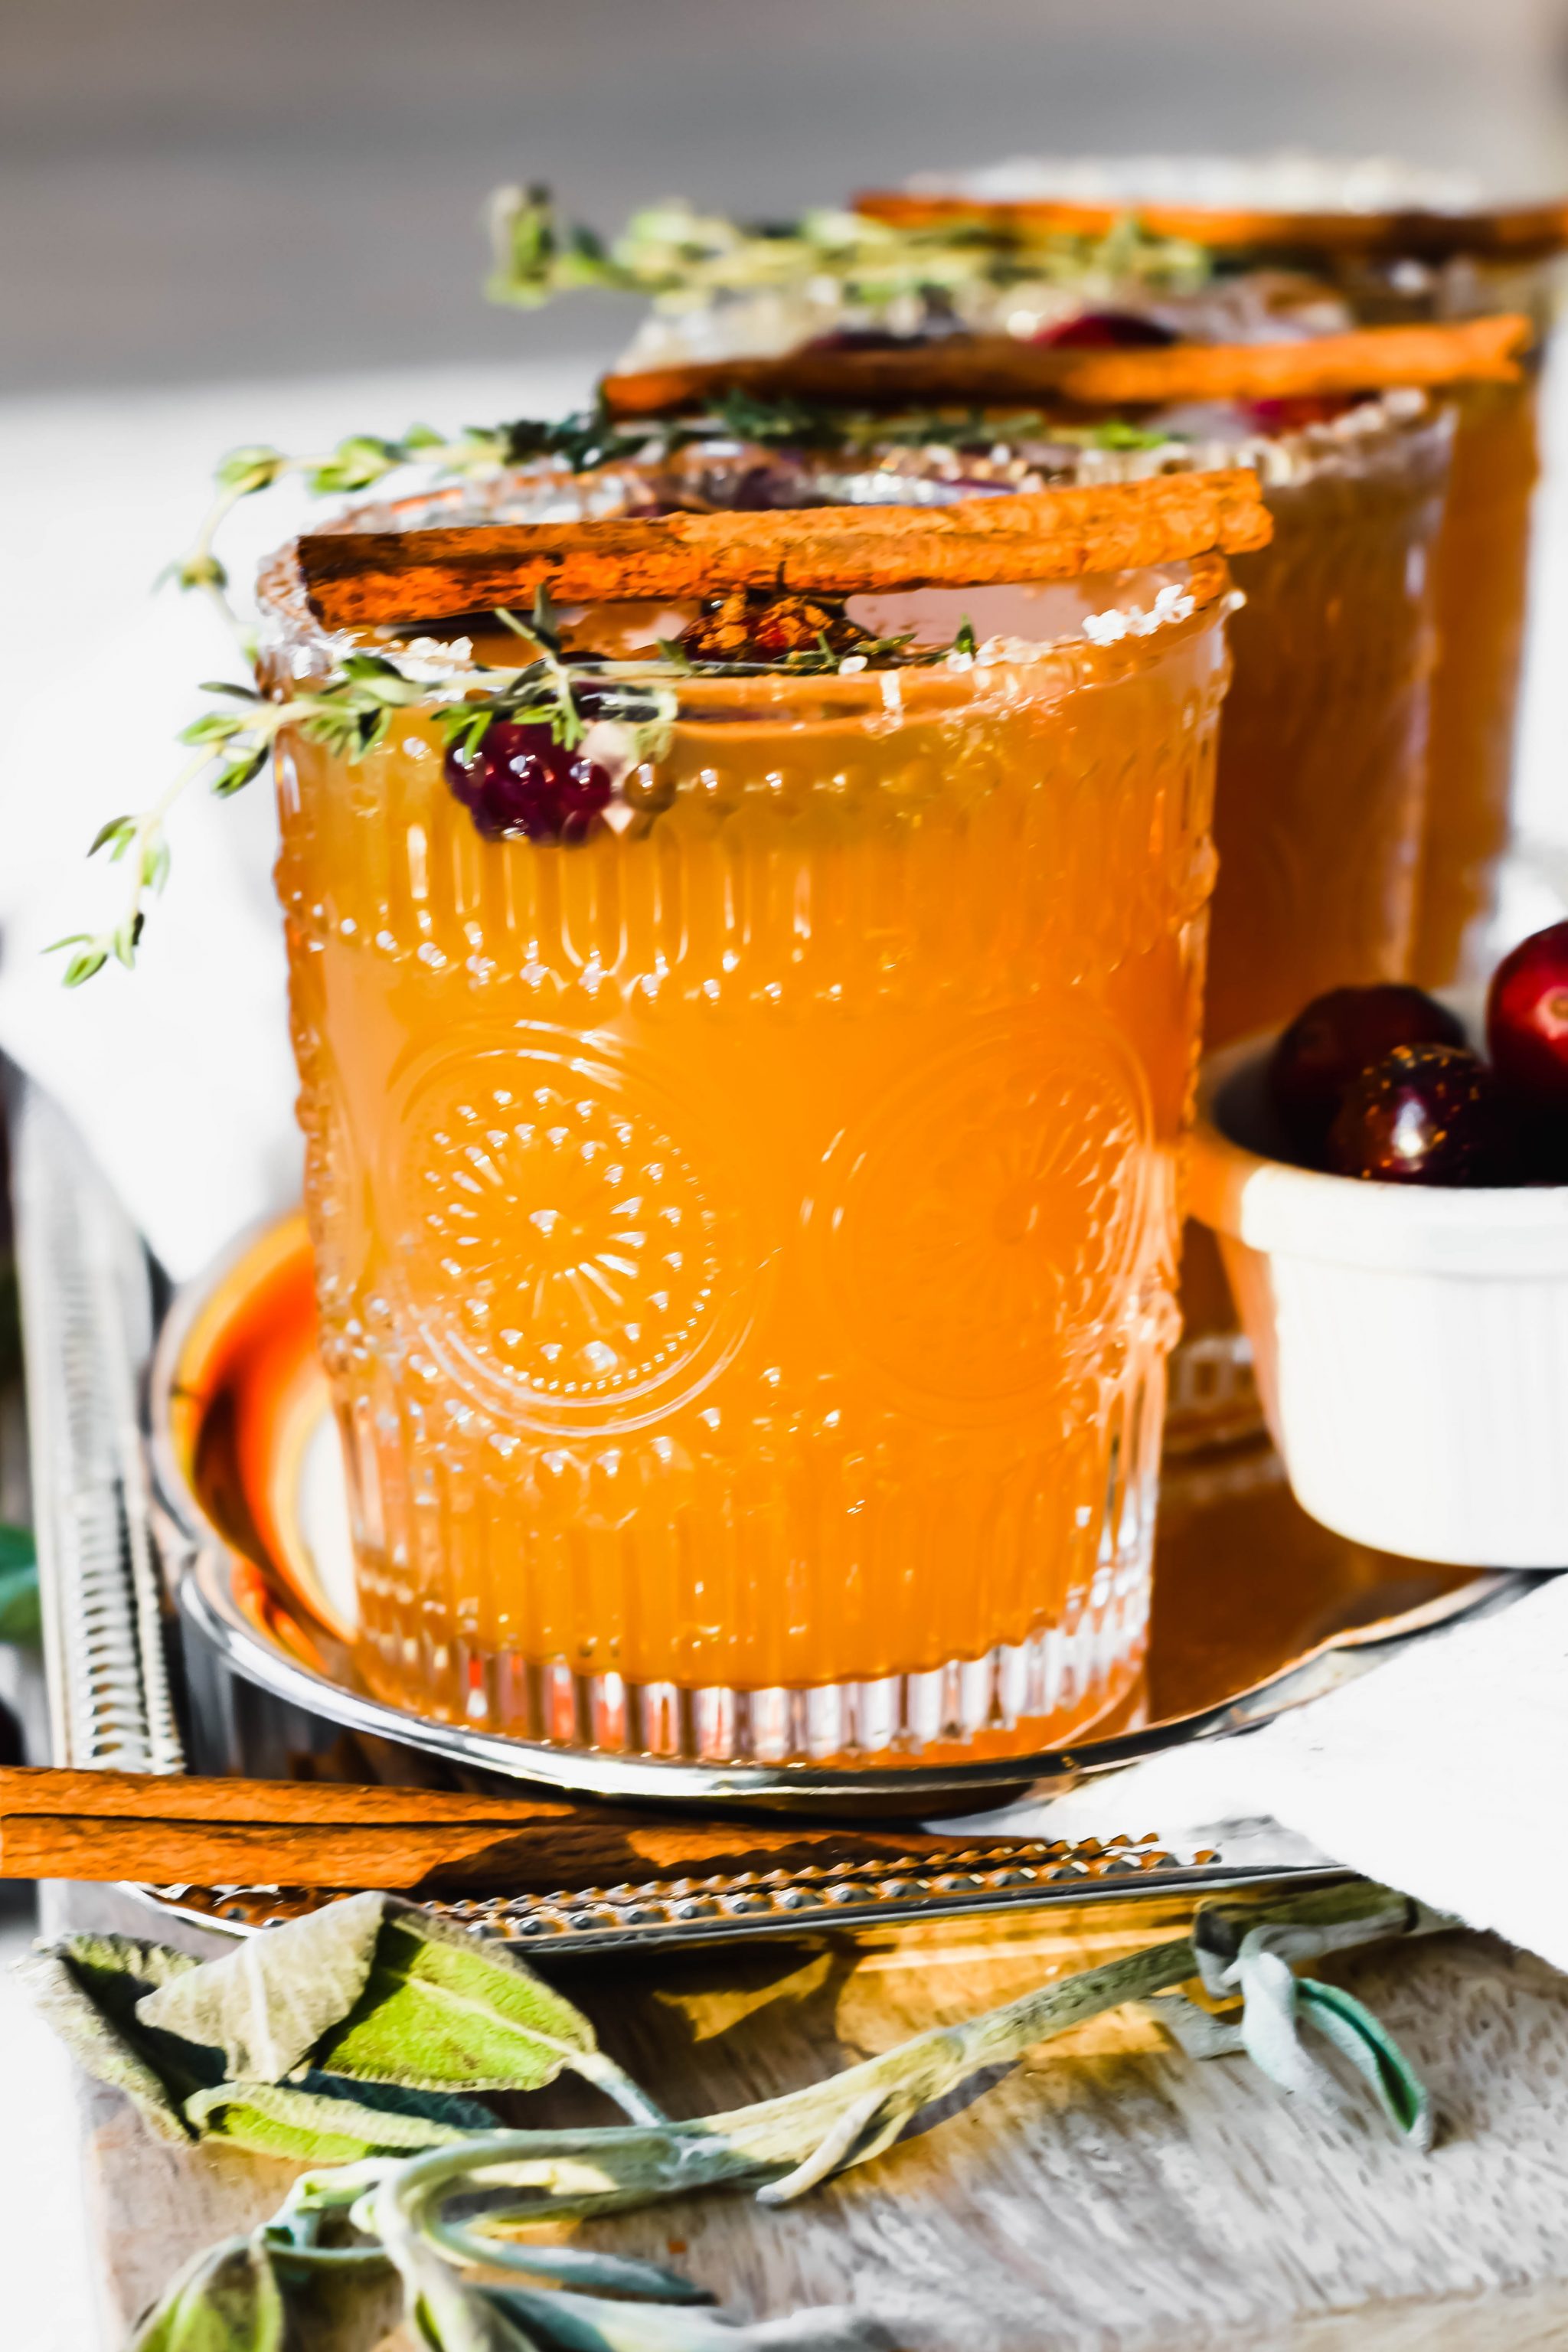
Unique dishes and/or glasses:
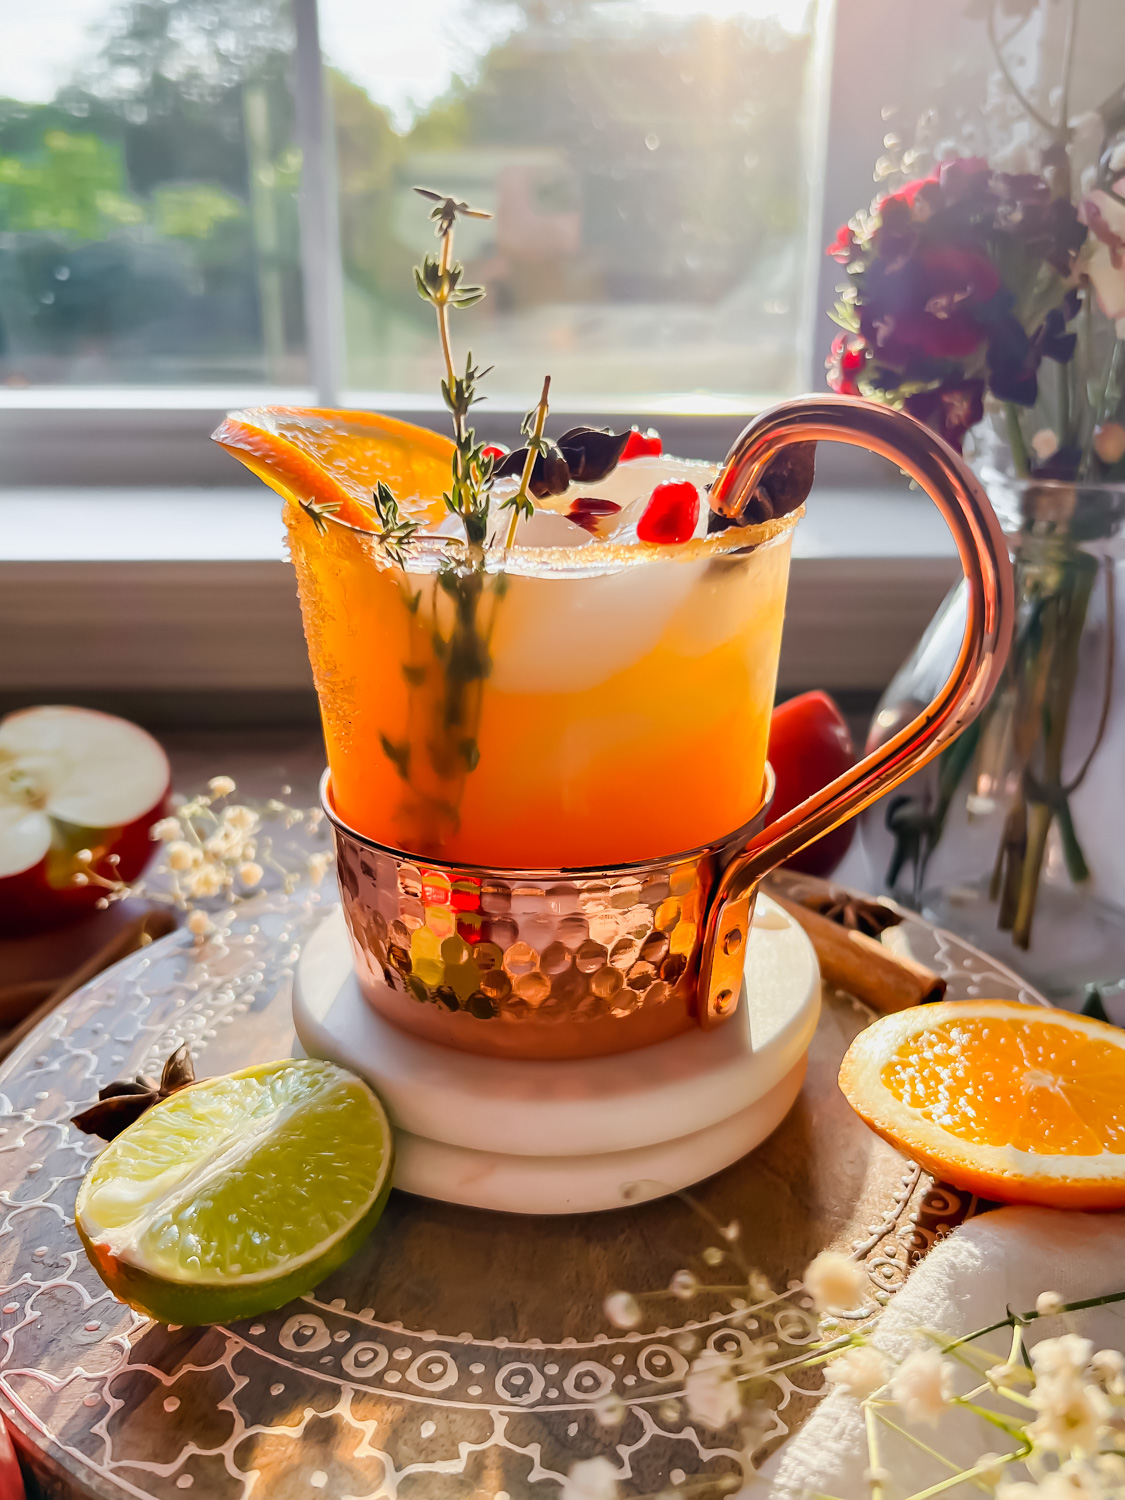
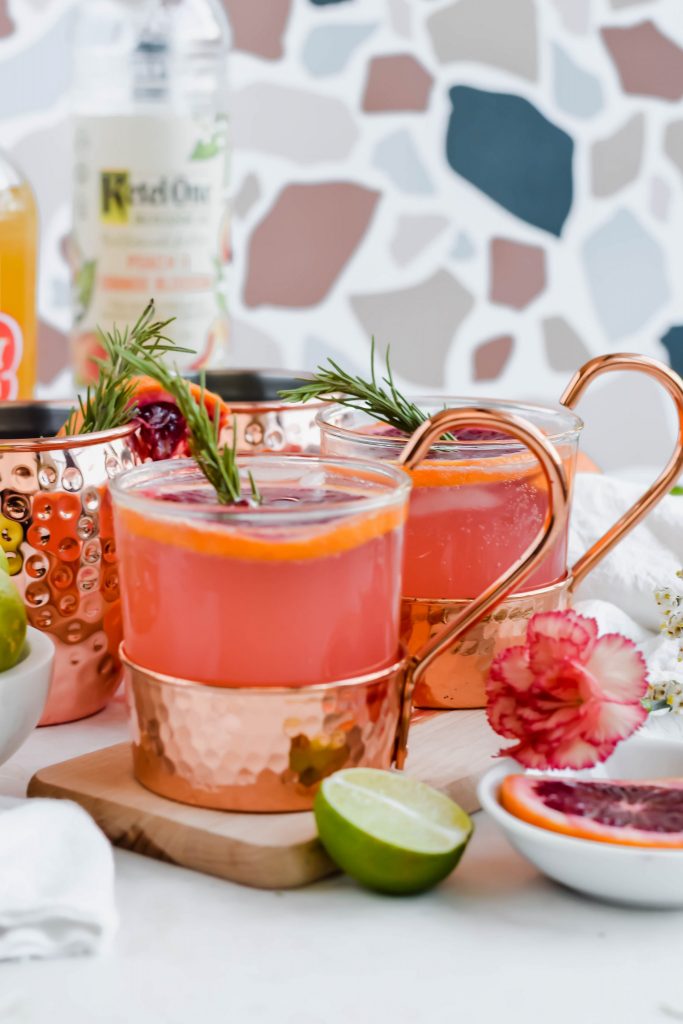
I searched long and hard for these half glass and half copper Moscow Mule glasses from William Sonoma and ended up purchasing them on a resale site. Whether it’s these or the detailed casserole dish you found in your grandparent’s basement, unique plating can do a lot for your food photography.
- These are favorite ‘vintage’ cocktail glasses
- This cocktail shaker is perfect because you can see into it for photos.
- Elegant beverages call for Coupe Glasses
- Oil dispenser: Great for photographing dressings
Old recipe books, menus, or newspapers:
Go to your nearest Goodwill and I bet you’ll be able to find a cookbook for less than $3. Tear out pages and crumple them a bit, maybe add some handwritten notes, and place them under your finished dishes. I also like to keep old take out menus and newspapers and use them similarly.
- For fried foods or serving bar food, try this Fry Wax Paper Liner.
- Be sure to use unbleached Parchment Paper to avoid funny reflections in photos
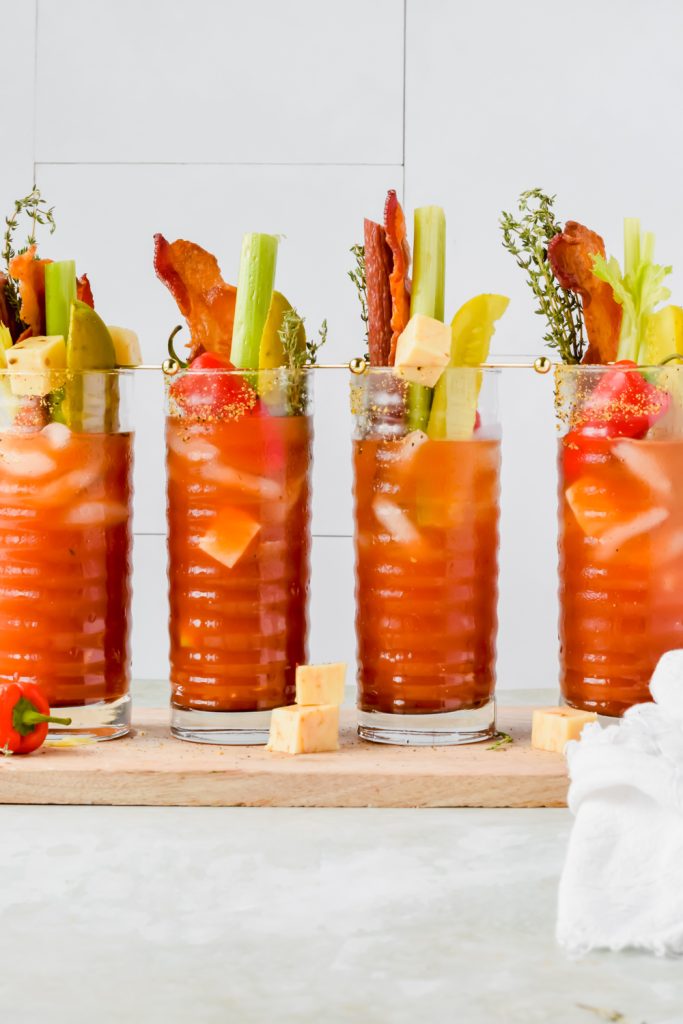
- Measuring cups and spoons are accents in every shoot – and one of the most addicting things to collect because there are thousands of options.

Accessories:
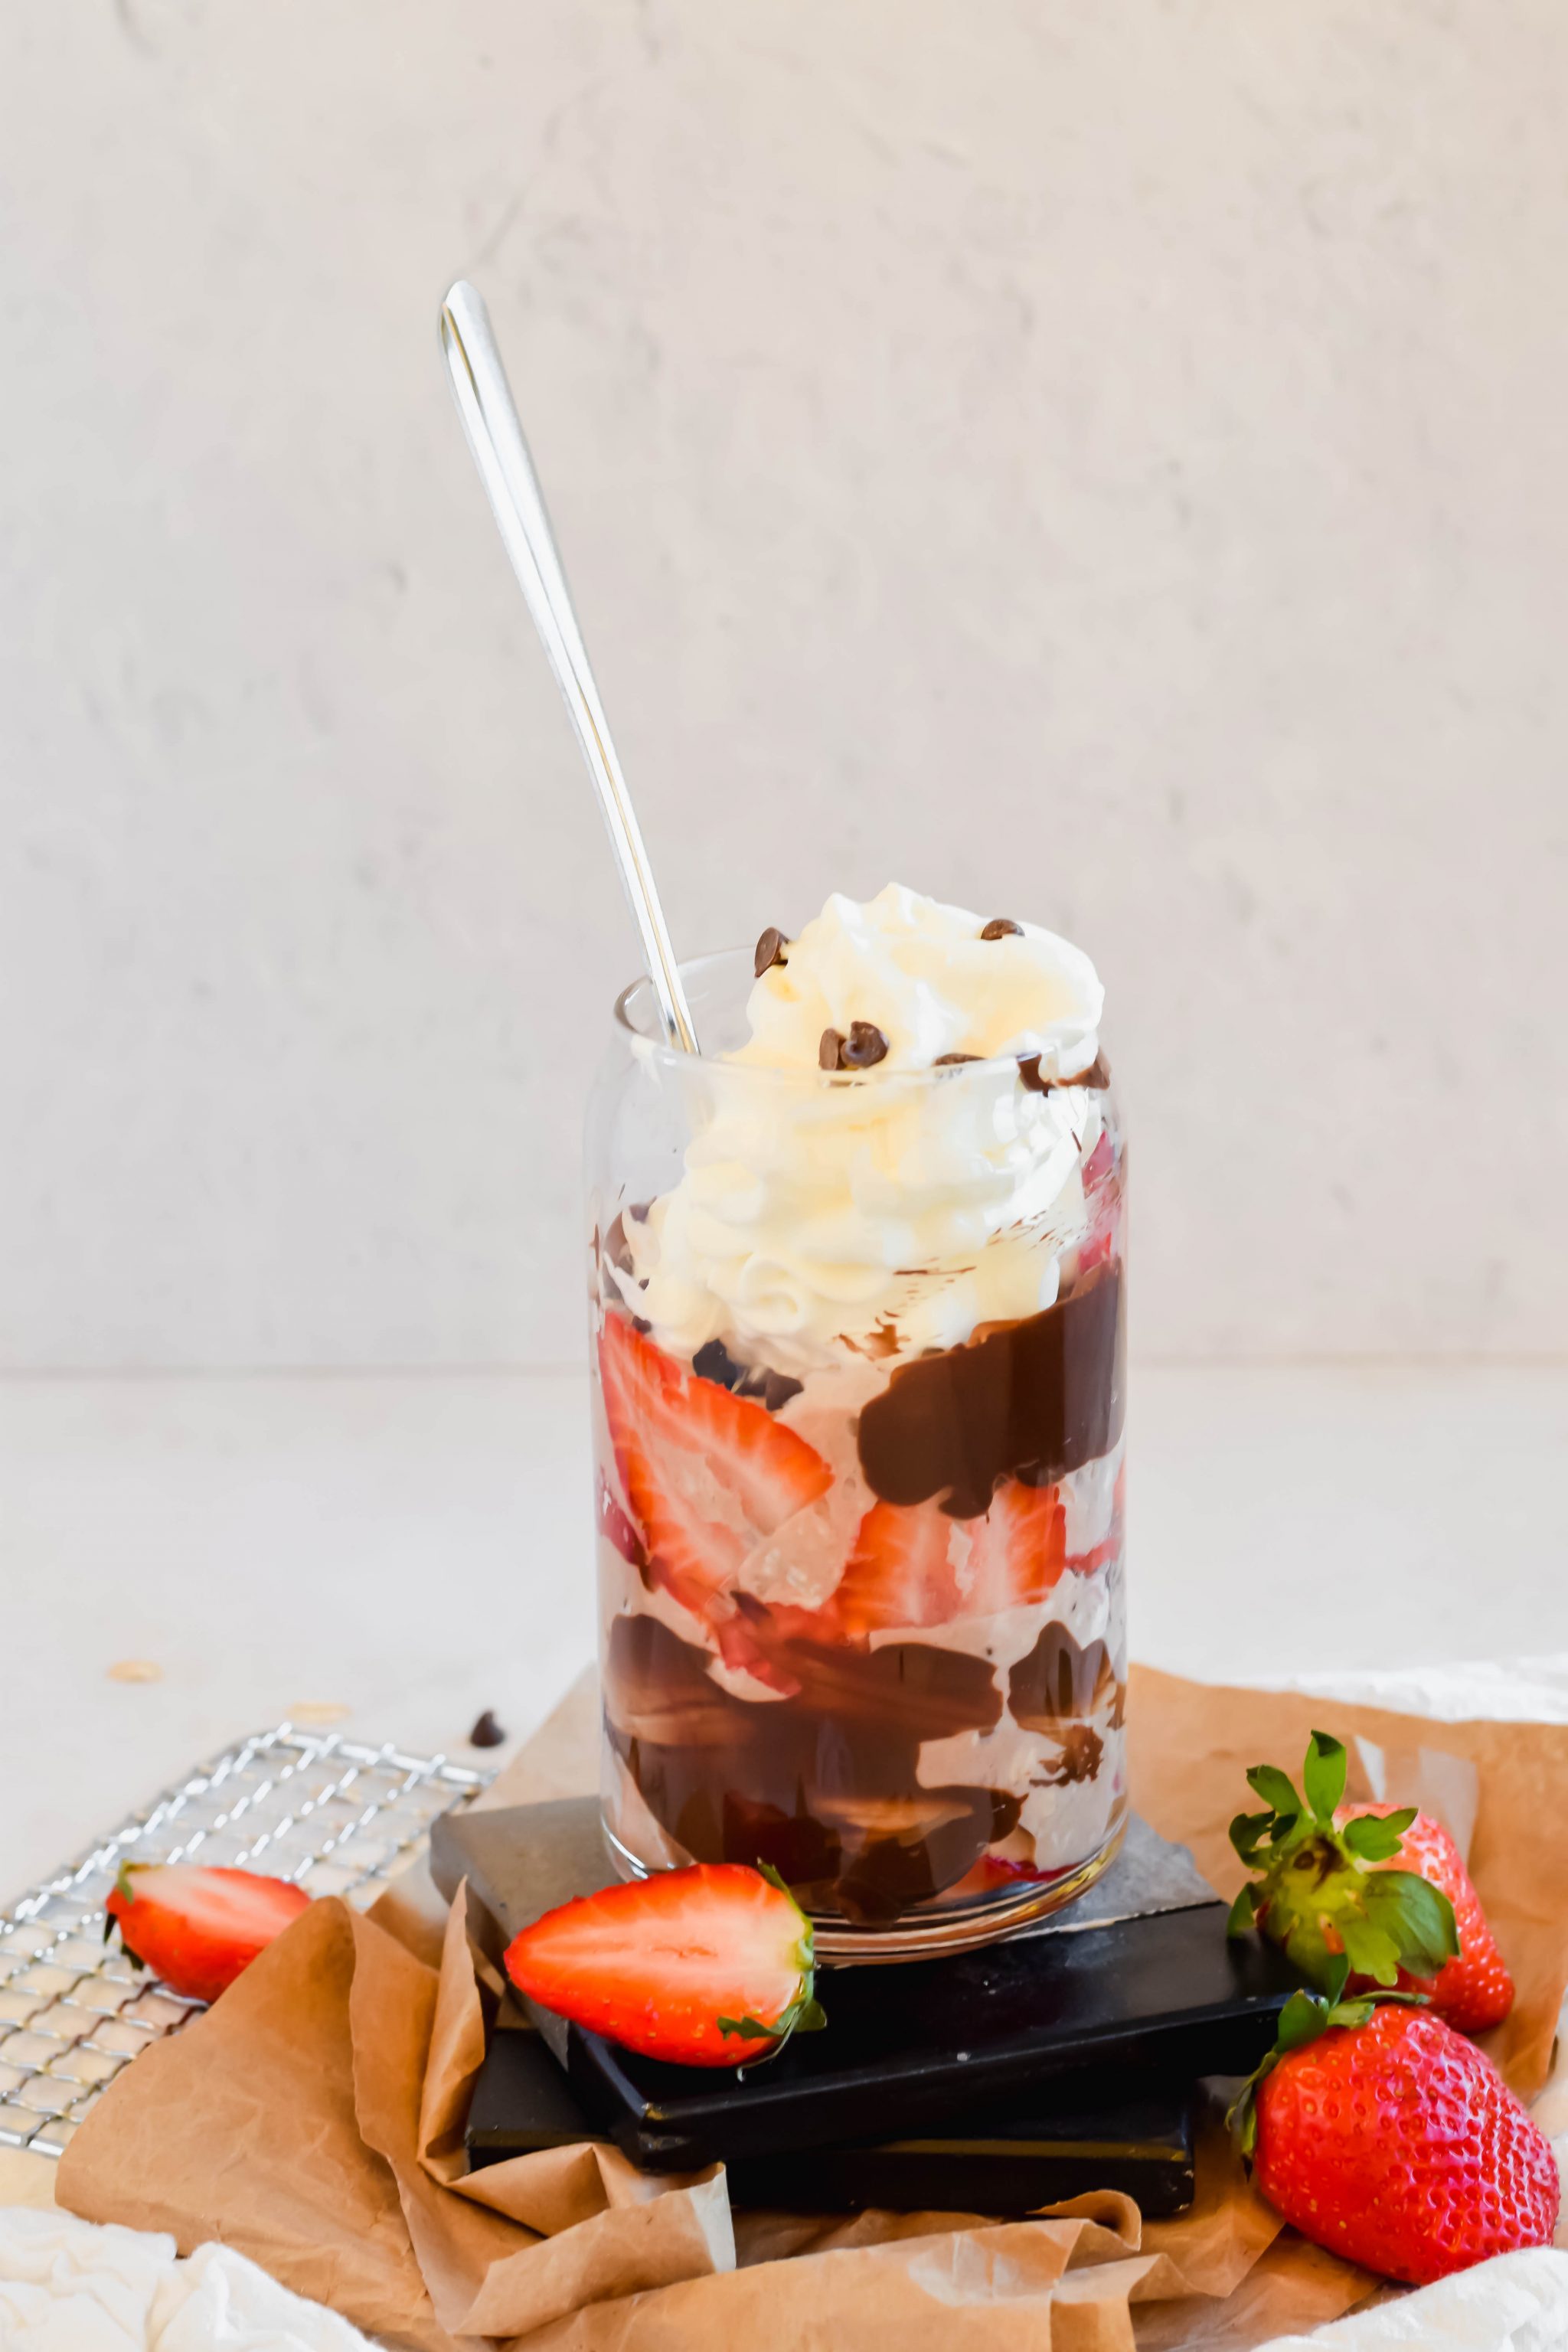
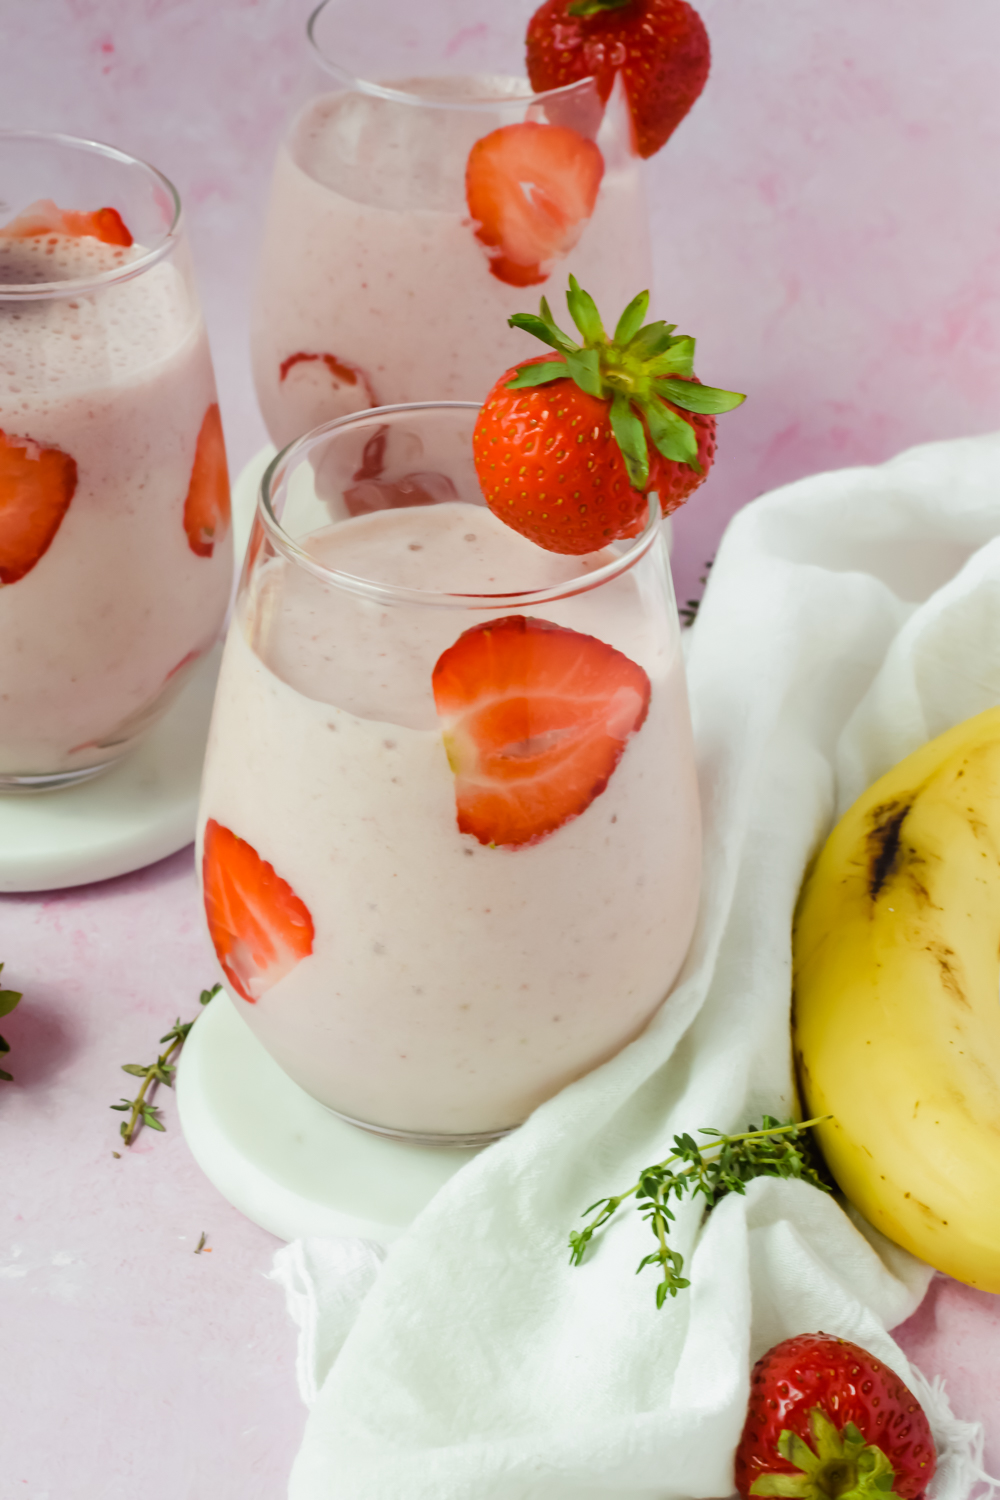
I usually get the plastic packaged herbs from Trader Joe’s to accent all photos. They’re the most cost effective and always fresh! I’ve found these add great color and texture to my photos. I also will pick up seasonal bouquets from Trader Joe’s and snip them to fit into my photo shoots!
- These cocktail skewers are simple, yet unique!
- Round cake racks that can be used for layering a variety of foods and drinks.
- Anytime I use citrus, the wooden juice reamer is a practical prop to include!
Holiday decorations:
GUILTY of buying an overload of holiday items from HomeGoods to use as food photography props. However, they often bring a pop of color to my photos and make holiday recipes that much more festive. Don’t be afraid to use what you’ve already got too; an ornament off of the tree or mini pumpkins from your doorstep will often do the trick.
- Remember scale when you’re photographing food. You almost always want the ‘Barbie’ size of everything. Most times, Target, Walmart, and other stores will have a $5 pack of really small holiday decor in their entry. I pick up a few of those each year and repurpose them.
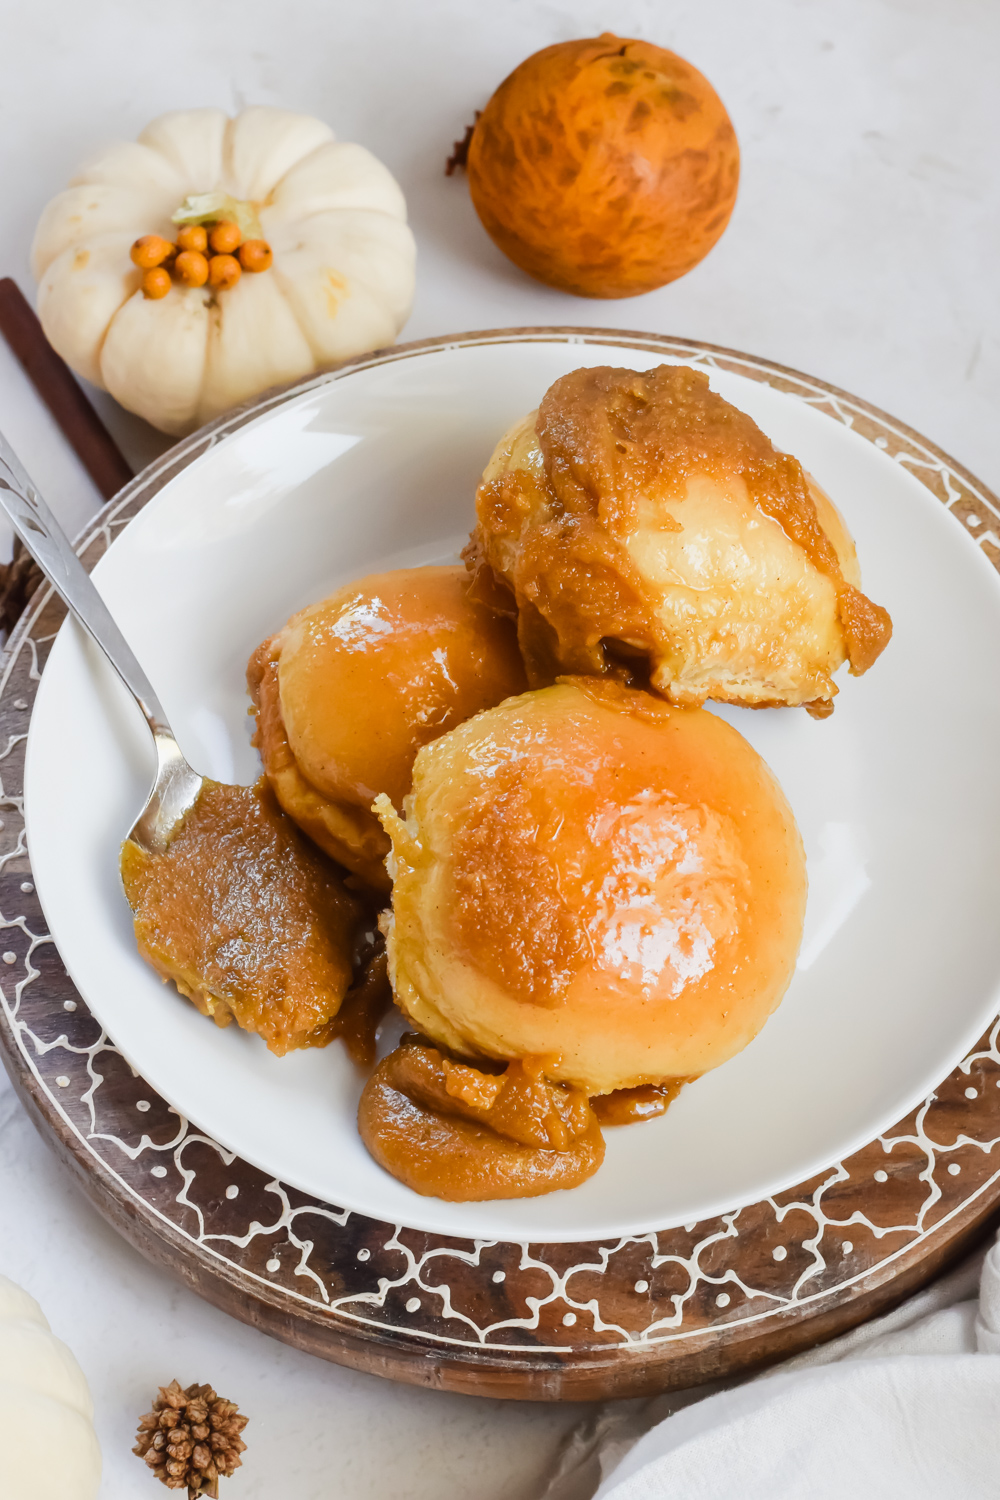
Mise en place dishes:
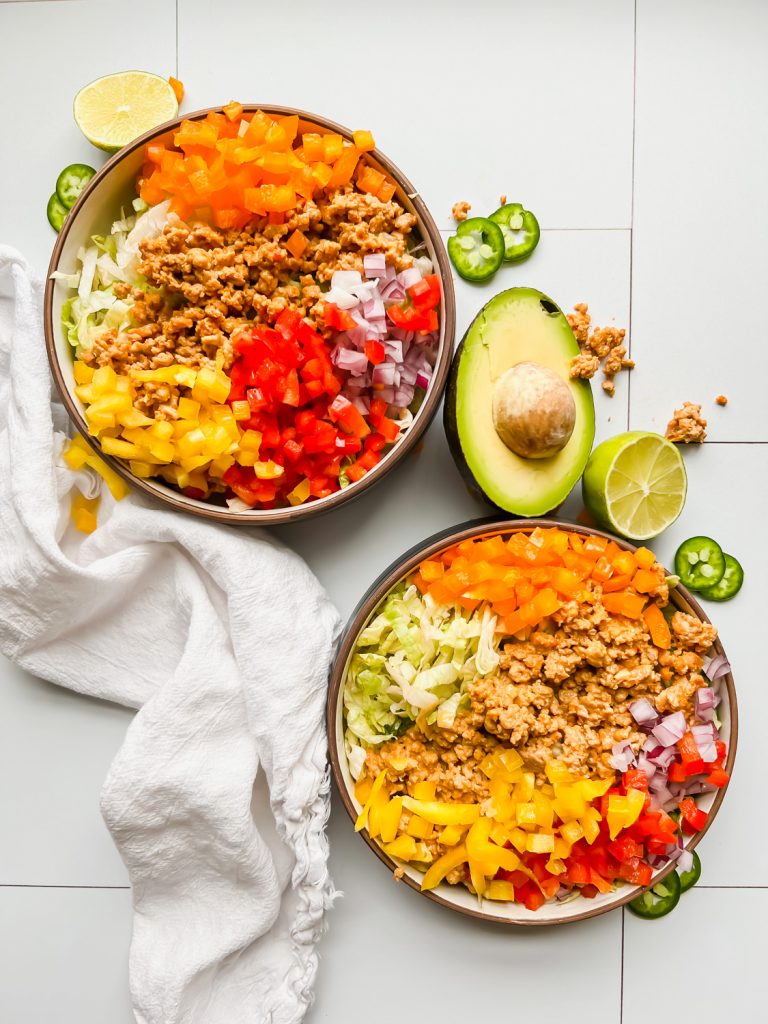
Any extras of the ingredients you’re already using in your recipe function great as photography props. Separate these into small dishes and place around your finished dish before shooting. I think it’s fun when they’re mismatched shapes and sizes so I pick up one or two every time I see a design I like. Home Goods and Target both typically have great options.
- The dollar store has the best glass pinch bowls. 4 for $1. I use them for every ingredient photograph shot. Linked here.
- Etsy, Heart and Hand by Magnolia, and Goodies are some brands that I’ve purchased pinch bowls from in the past.
Linen:
Whether you use a place mat, table runner, dish towel, or scrap linen purchased from a Joanne’s, adding fabric to my setup has been helpful to add both color and texture to my shots.
- I will order packs of 4 napkins; as I use and dirty them pretty frequently (see queso on the left hand side;). After washing them once, they keep a wrinkled texture.
Backdrops
I’ve got a few different pieces when it comes to backdrops. These range in price and quality, but I’ve gotten good use out of all of the ones I have. If you are going to purchase a pricier one, I’d recommend a more neutral pattern that you’ll use more often and make your ‘fun’ patterns yourself.
- Amazon: I recently purchased a Bessie Bakes backdrop and I’m really happy with it. It was cheaper than my Replica Surfaces and larger area!
- Replica surfaces: TONS of patterns. These are also stain resistant and can be bought in bundles. They’re lower on my list now as they’re not big enough to capture typical 4×6 images.
- Captured By Lucy Backdrops: This site has tons of great neutrals that come in a handful of sizes. I’ve found that the Standard size is the best for food photography set ups. Colors that I own and use frequently: Moroccan Floor, Urban Concrete, Winter Blush, Terracotta Floor, Olive Stone, Desert Stone, and Tetbury Tile. They are my perferred backdrops; however, they do not stand up on their own. So you must have another heavy board to mount it to to get 90 degree angle shots.
- White bounce board: This can be a white foam core board that’ll bounce light into your photography.
- DIY: Yes! You can make your own backdrops and it’s super easy and super affordable. Check out my reel here on how to do it.
Questions? Feel free to leave them in the comment section below and I’ll answer them! Thanks:)
“Capturing mouthwatering food photos is an art, and having the right tools can make all the difference. If you’re passionate about food photography, consider using PicsArt. With its intuitive interface and powerful editing tools, PicsArt allows you to enhance your food photos and make them truly irresistible. Plus, you can download the free PicsArt mod APK at picsartszone.com to unlock additional features and take your food photography to the next level!
I really loved your advice about using ‘Barbie’ sized props for food photography! It makes so much sense when you’re trying to keep the focus on the dish itself without overwhelming the frame with bulky accessories. The tip about Goodwill cookbooks is also a gem for adding that rustic, lived-in feel to a shot. My small suggestion would be to try using a bit of museum wax to keep those small props perfectly in place while you’re adjusting your lighting. Also, I’ve found some really helpful tools for imagery and AI that you might like: https://www.nanobananaimages.com/ , https://hunyuan3dai.com/ , and https://www.triposrai.com/ . Cheers for the inspiration!