


Learn how to make your own pie stuffed with layers of delicious and flavorful apples and covered in a warm brown butter sugar sauce. This is an Easy Apple Pie Recipe with Premade Crust that your family will be absolutely swooning over.
My mom’s pie recipe
My mom makes the most delicious homemade apple pie for Thanksgiving each year. In fact, it’s her second favorite dessert (if you’re an OG around here, you know her favorite is her Carrot Cake Recipe)! So you have to understand how wonderful and nostalgic this recipe is for me 😍. This post wouldn’t be possible without her willingness to share, so thanks, Mom! And I am so happy to pass along this recipe to YOU so you can your families can enjoy, too!
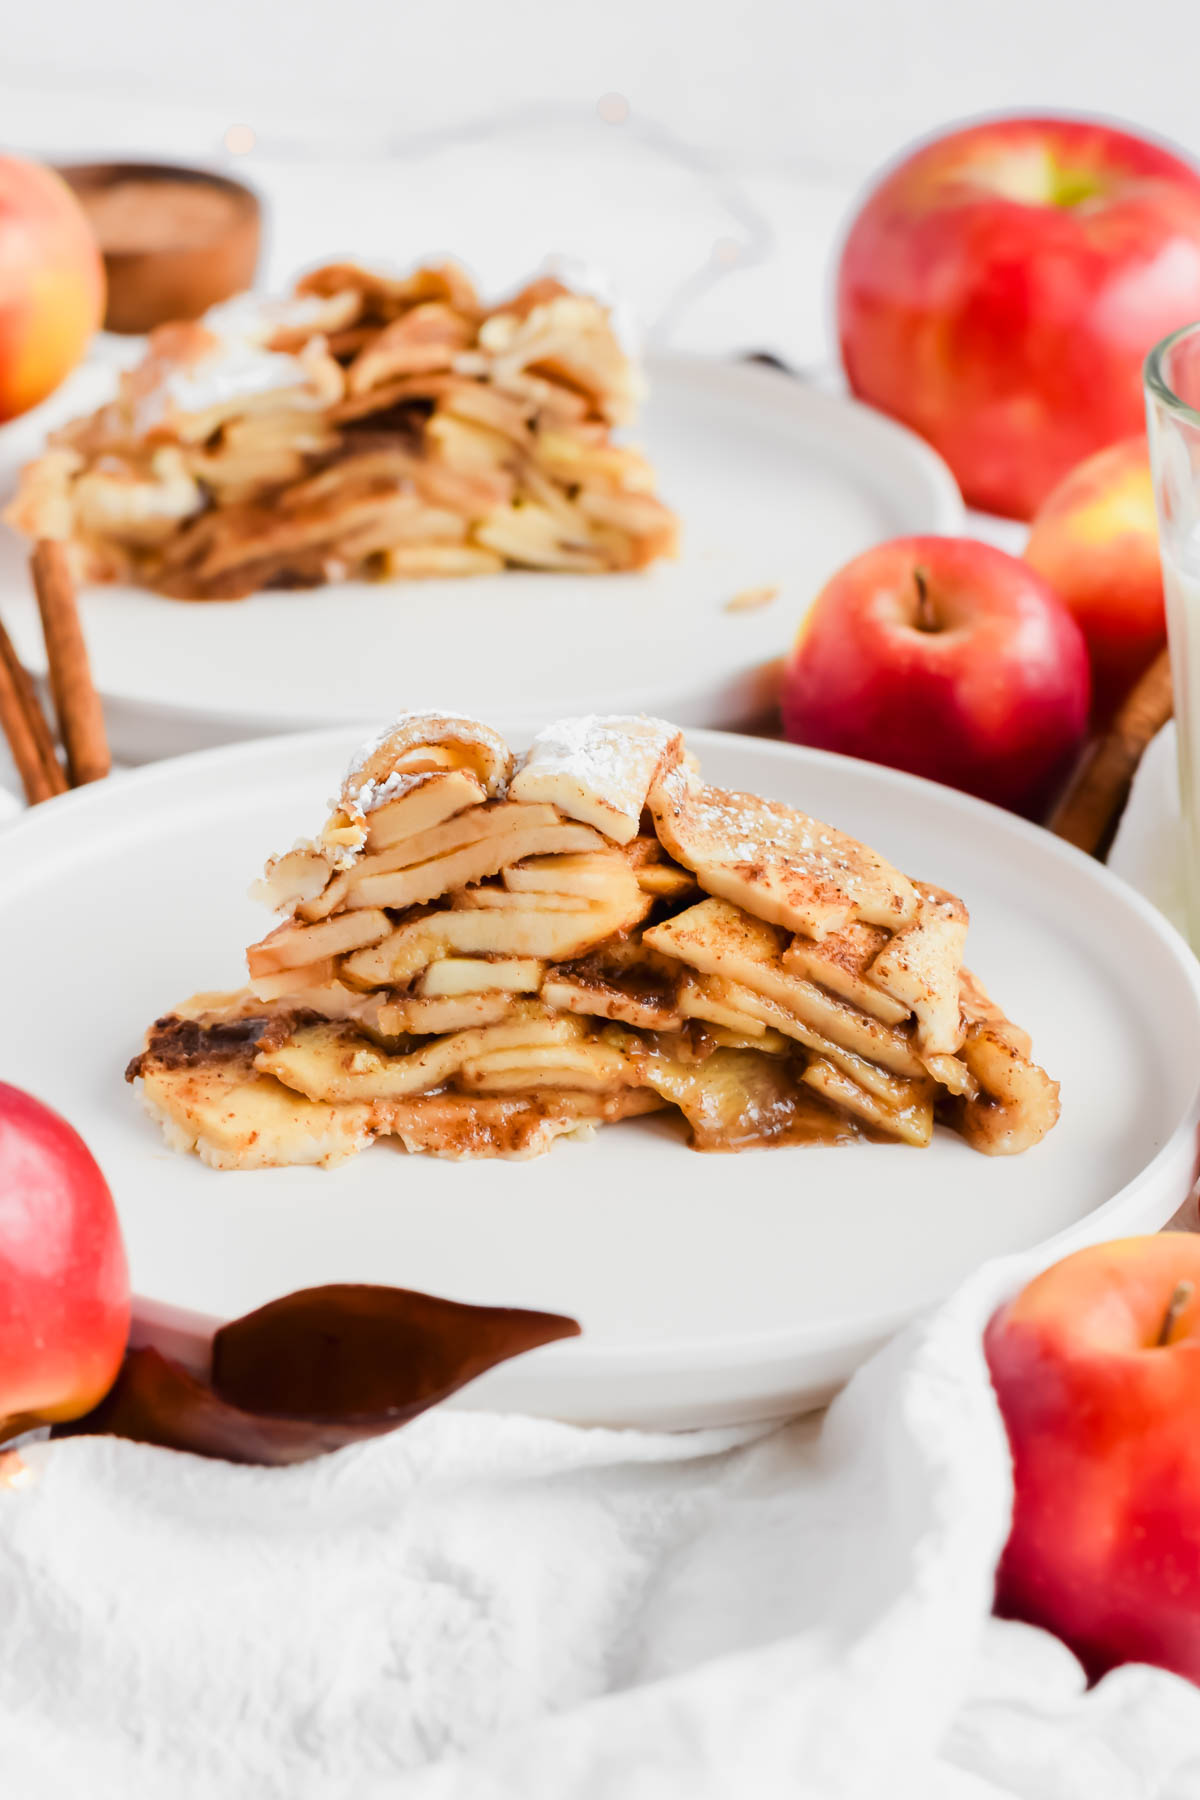
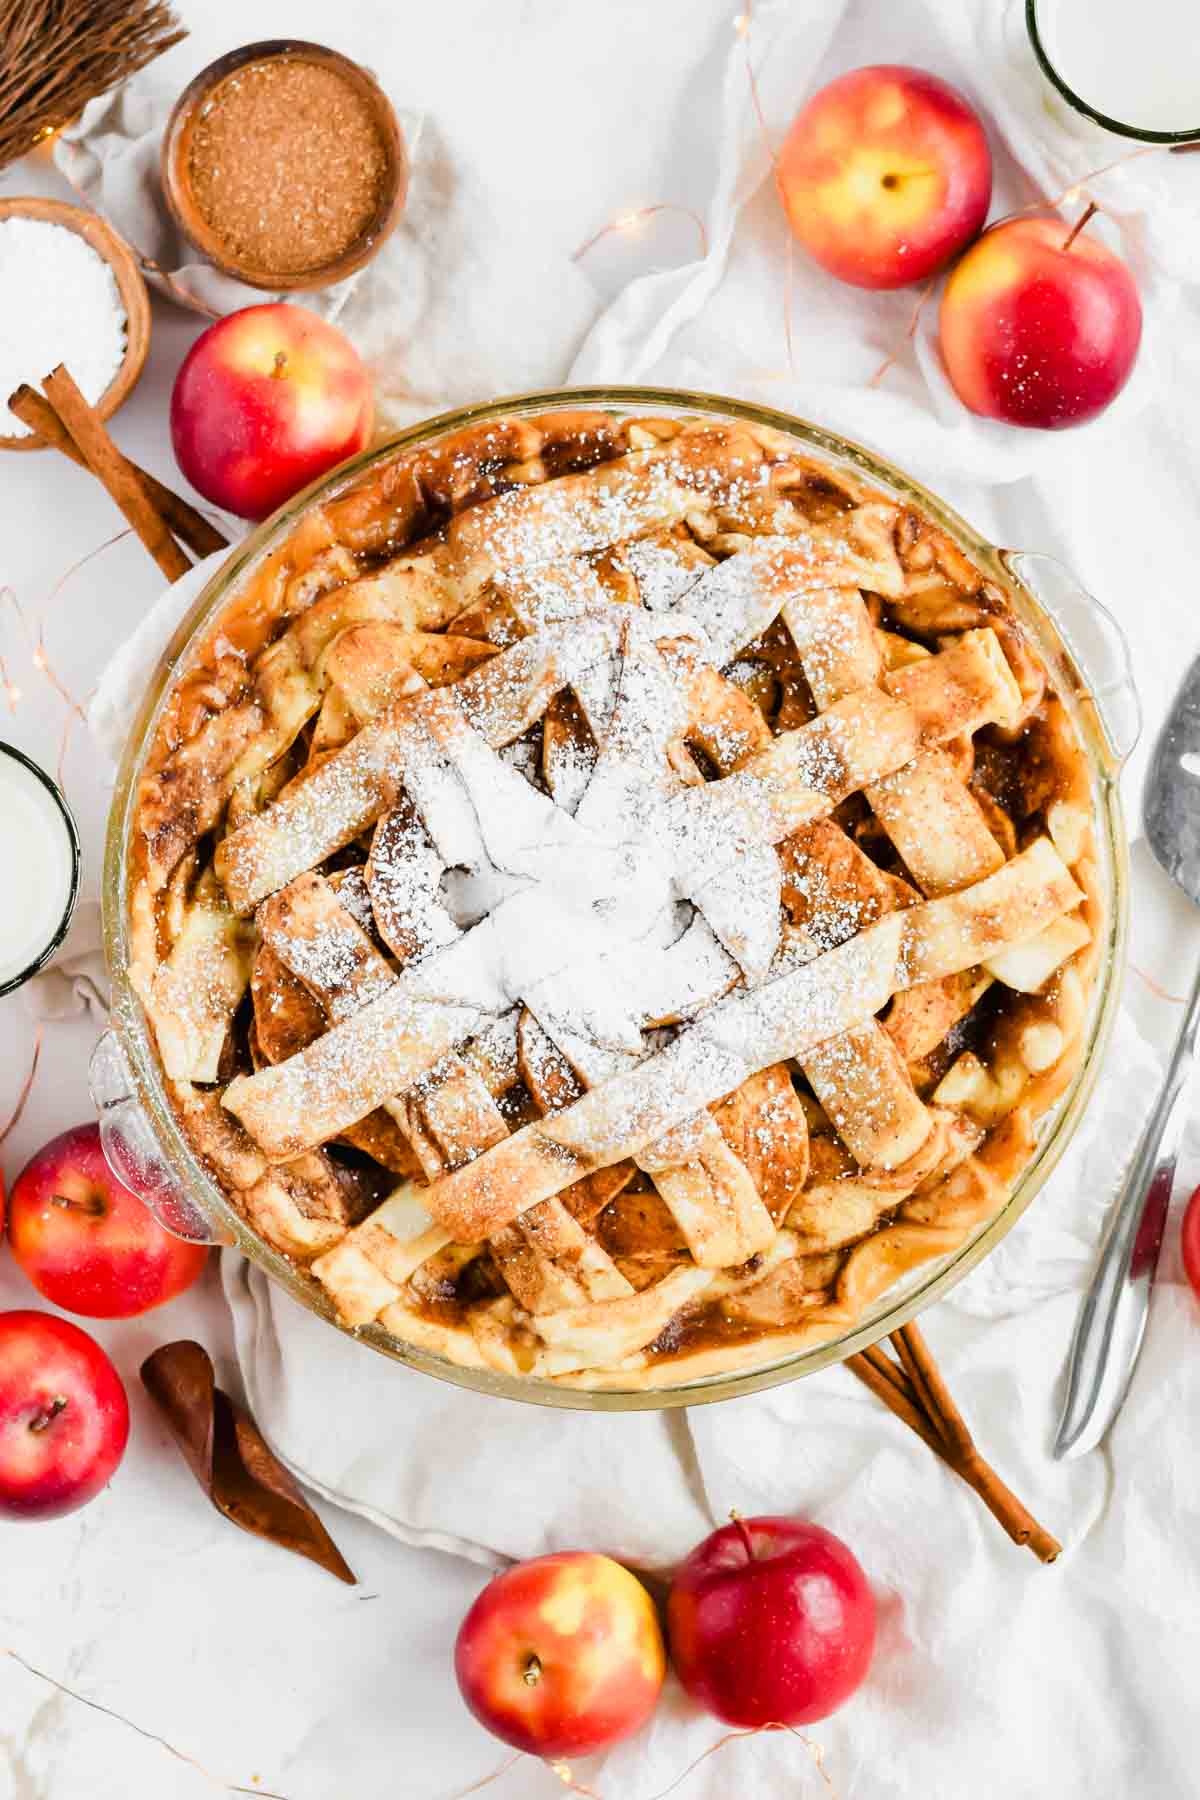
This simple Apple Pie Recipe with Premade Crusts is stuffed with layers upon layers of crisp apples and covered in a brown butter sugar sauce. When you pop it in the oven, the apples soften, the sauce caramelizes, the crust becomes buttery and flaky…you seriously can’t pass up this amazing dessert.
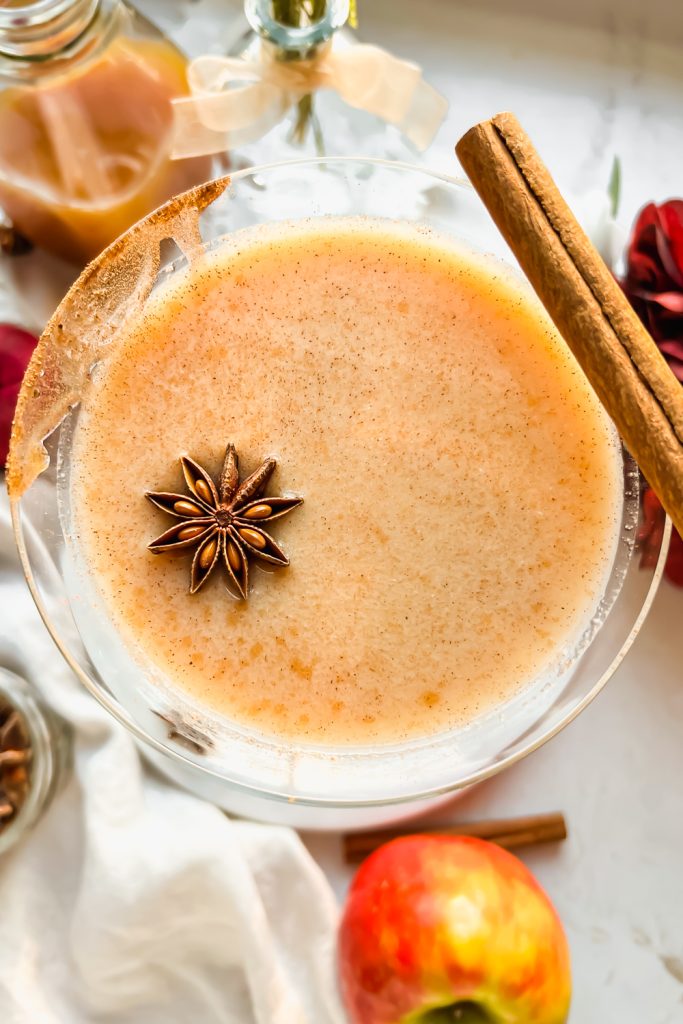
Enjoy this perfect pie with some powdered sugar on top, a big scoop of vanilla ice cream, and a warm cup of tea or coffee. It’s the perfect ending to your holiday meal with your loved ones!
And if you’re looking for more fall desserts, also try this Maple Bundt Cake, these Cinnamon Rolls with Apple Pie Filling, or these Pumpkin Cheesecake Cookies that I know you’ll love, too!
Recipe Ingredients
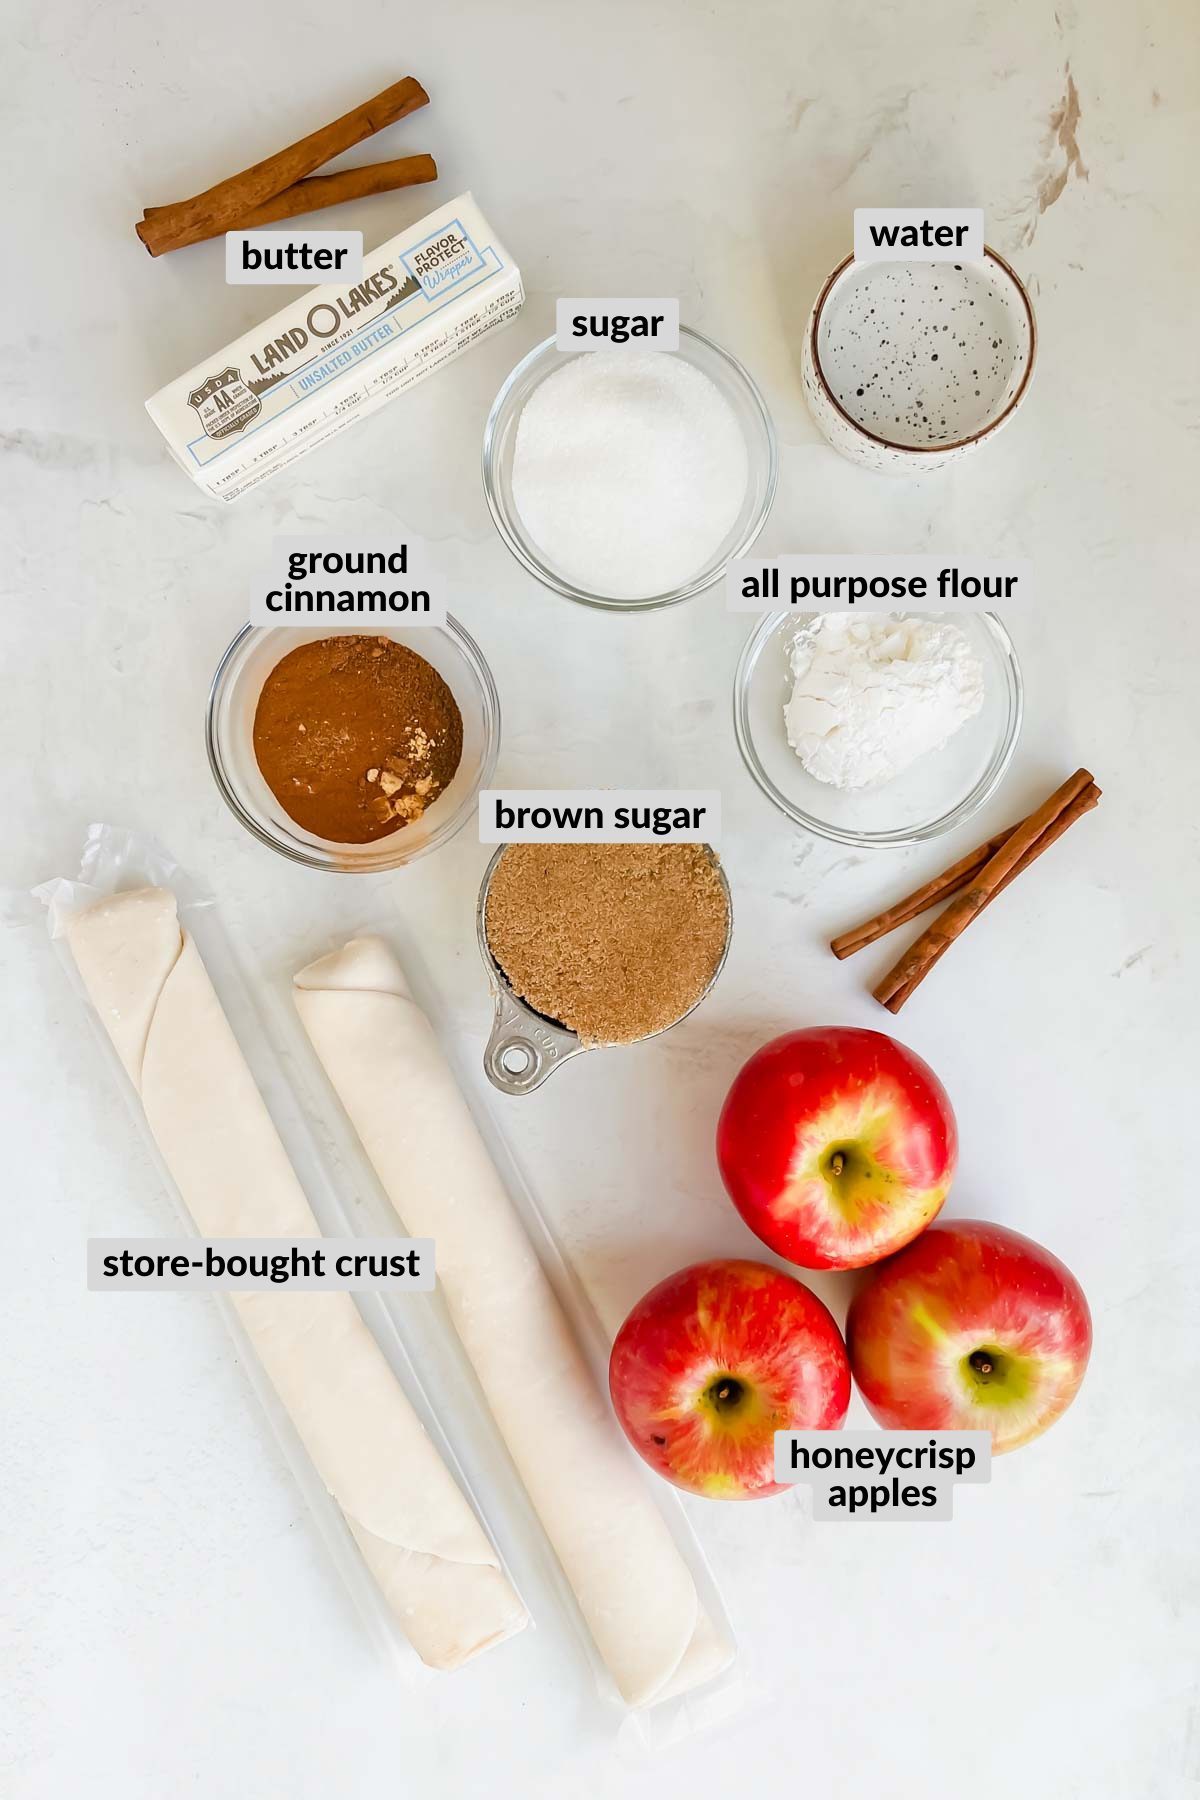
- Apples: Any type of apple will work, and I encourage you to use your favorite — red delicious, honey crisp, pink lady, etc. I love Rockit™ Apples or fresh from the orchard during apple season! Just note that you may want to adjust the amount of sugar you use depending on what type of apple you choose. For example, Granny Smith apples are quite tart. You may want to increase the white sugar to ¾ cup. In comparison, a Fuji apple is on the sweeter side, so you may need less sugar.
- Pie Crusts: This recipe uses pre-made pie crusts for simplicity’s sake. I’m here to make baking your own pie less intimidating. If you have a homemade pie crust recipe you love, go for it.
- Butter: Coats the apples and adds richness to our pie.
- Apple Pie Spice: If you don’t have this, you can substitute with 1 tablespoon ground cinnamon, ½ tablespoon of nutmeg, and ½ tablespoon of cardamom.
See the recipe card below for a full list of ingredients and measurements.

How to Make This Recipe
1. Preheat the oven to 350°F. Allow pre-made pie crust to come to room temperature.
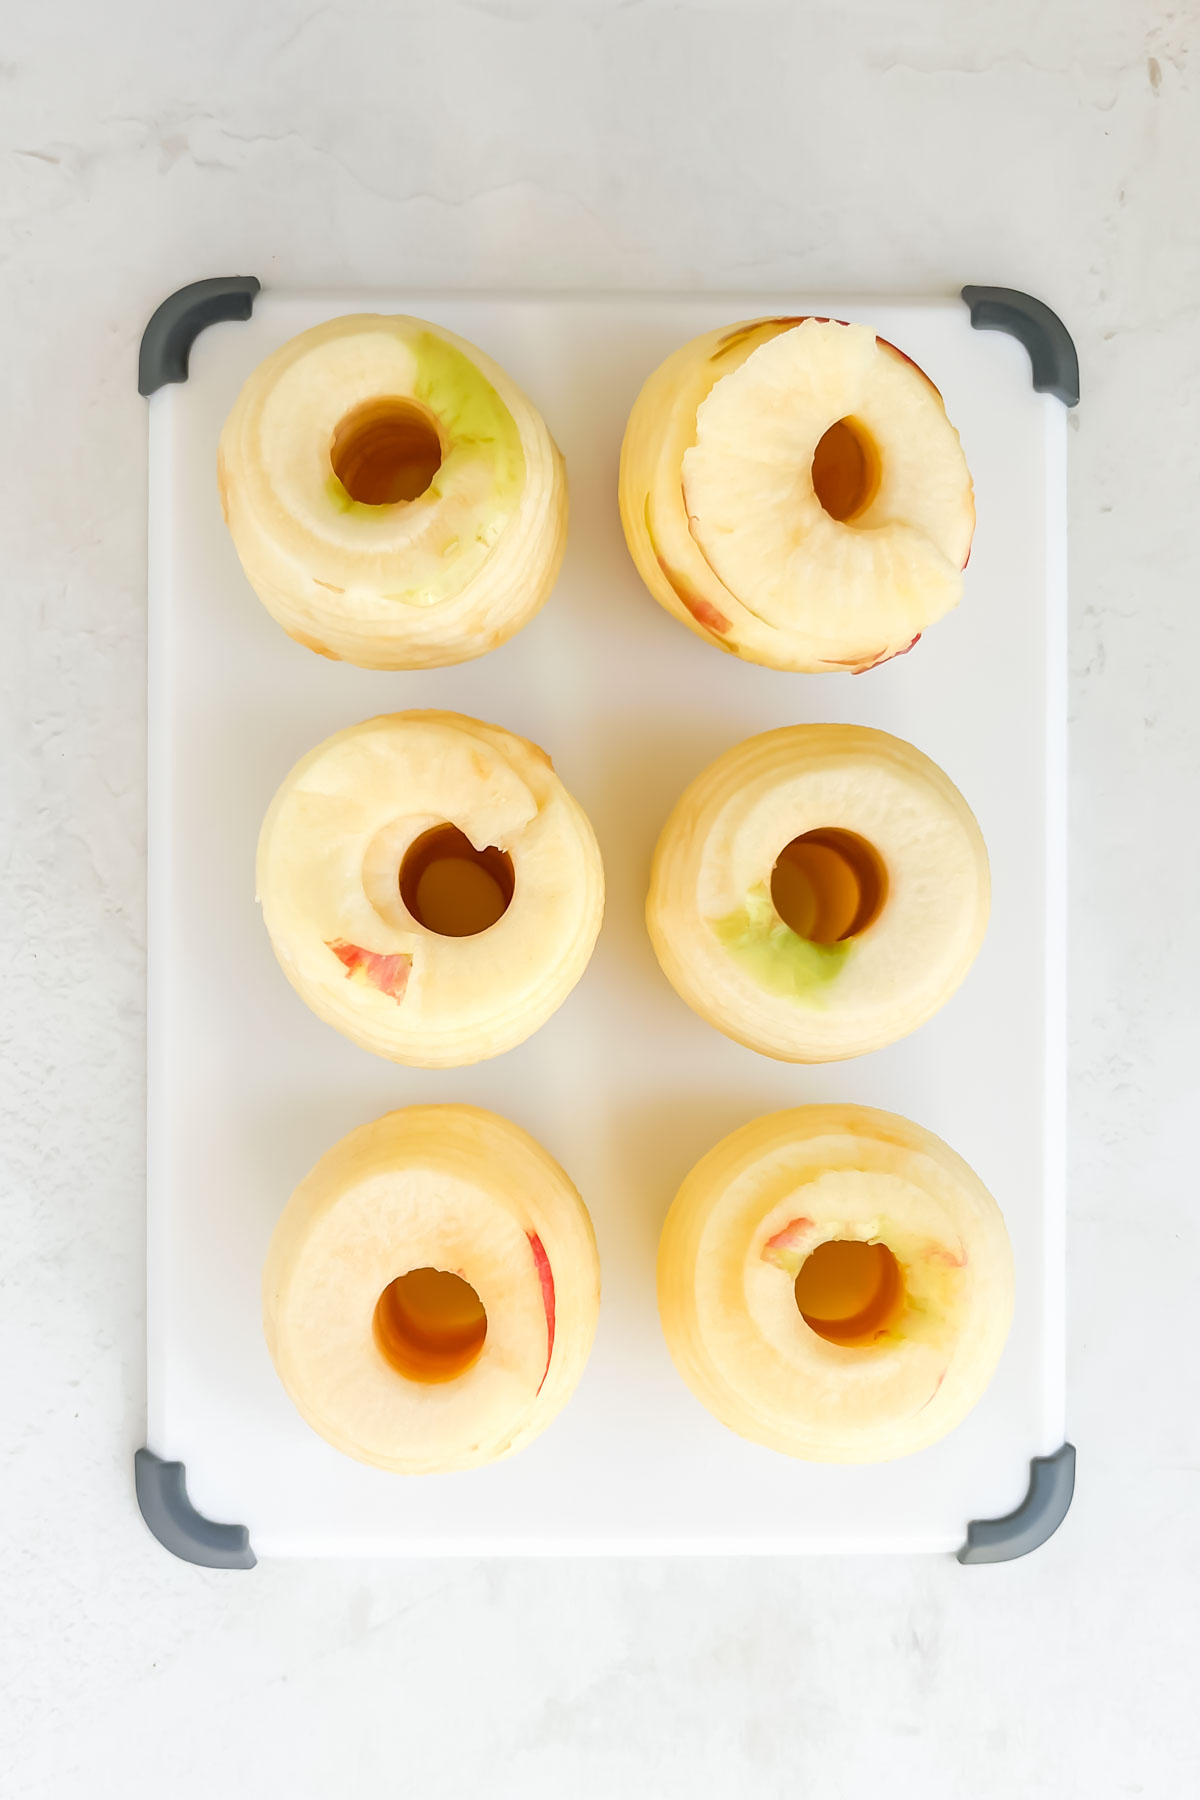
2. Wash and peel all of the Rockit™ apples. Then, remove the cores. Slice all of the apples into thin rings, about ⅛” inch thick.
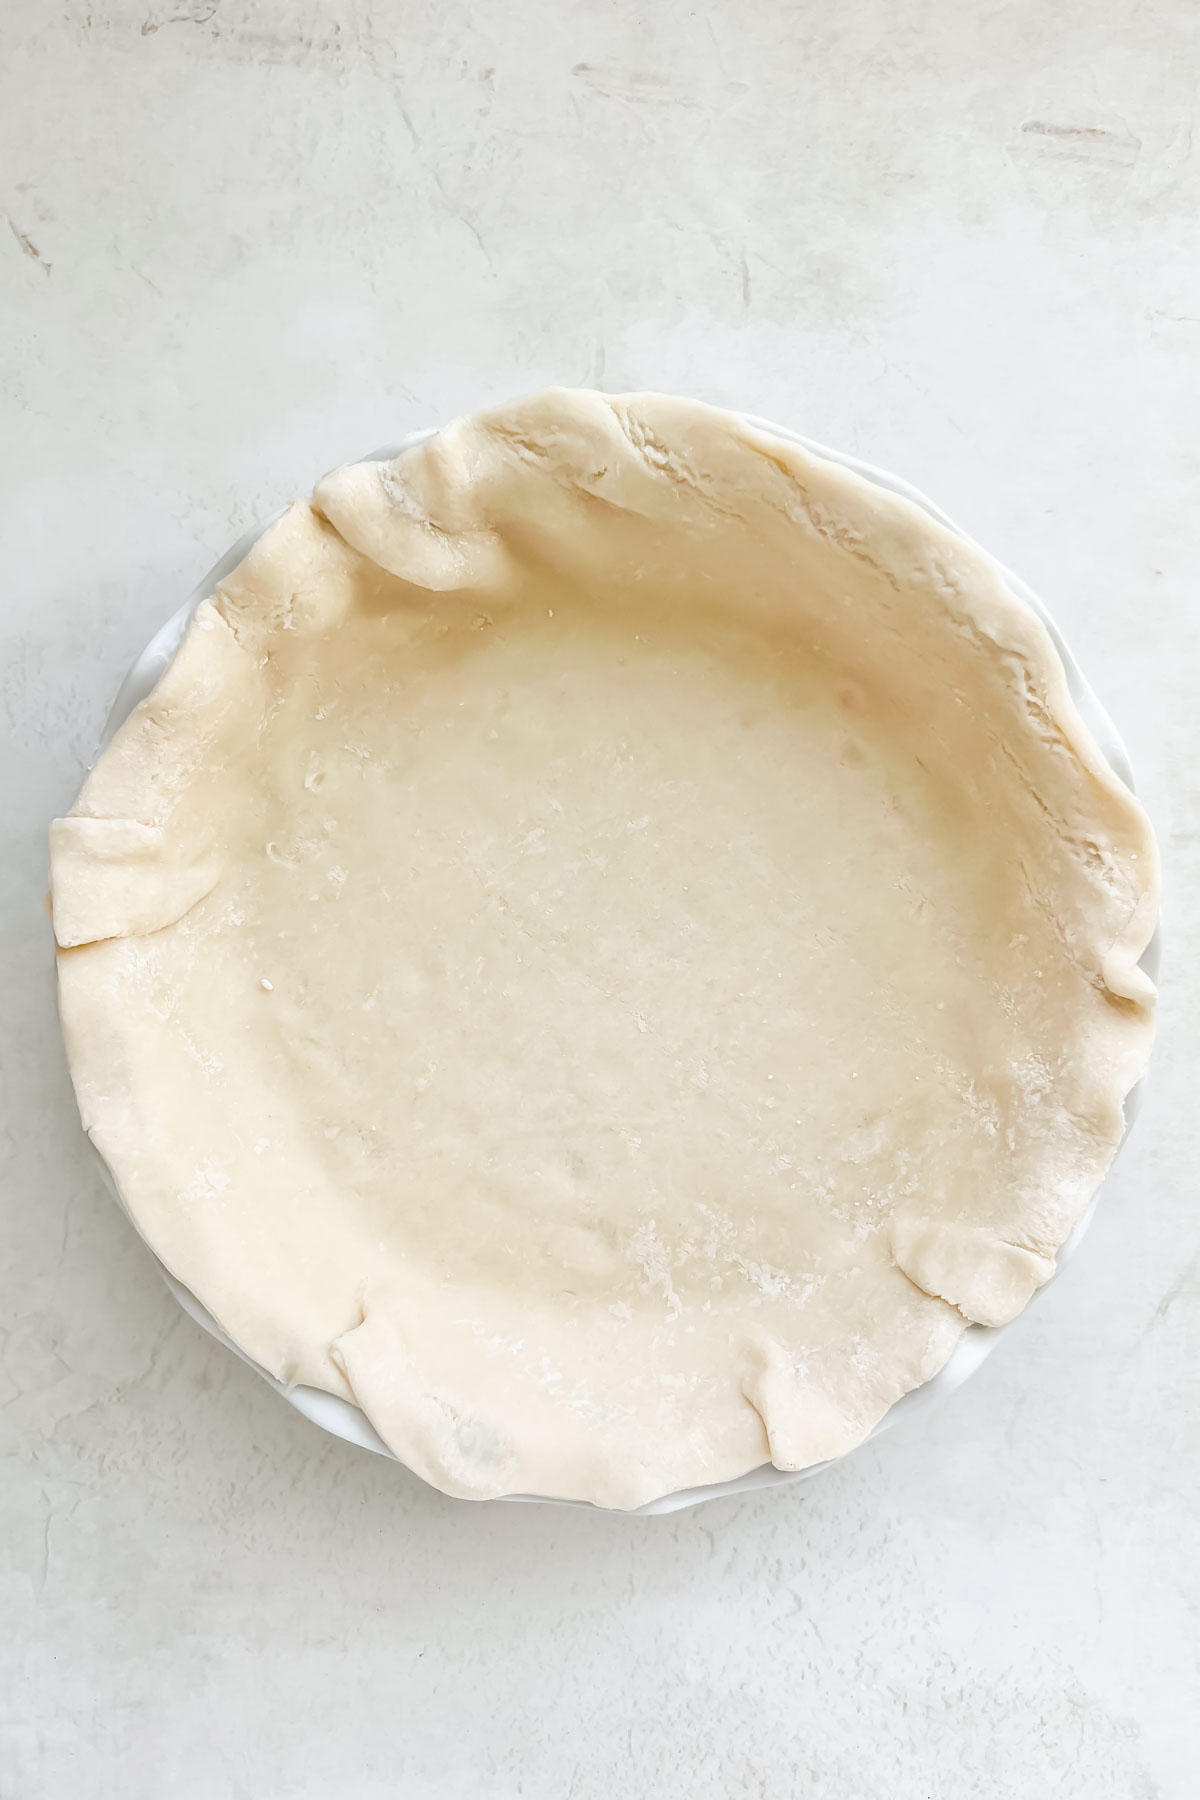
3. Layer in one of the pre-made pie crusts into your pie pan to make the bottom crust. You’ll need to confirm with your instructions whether or not to grease the pan.
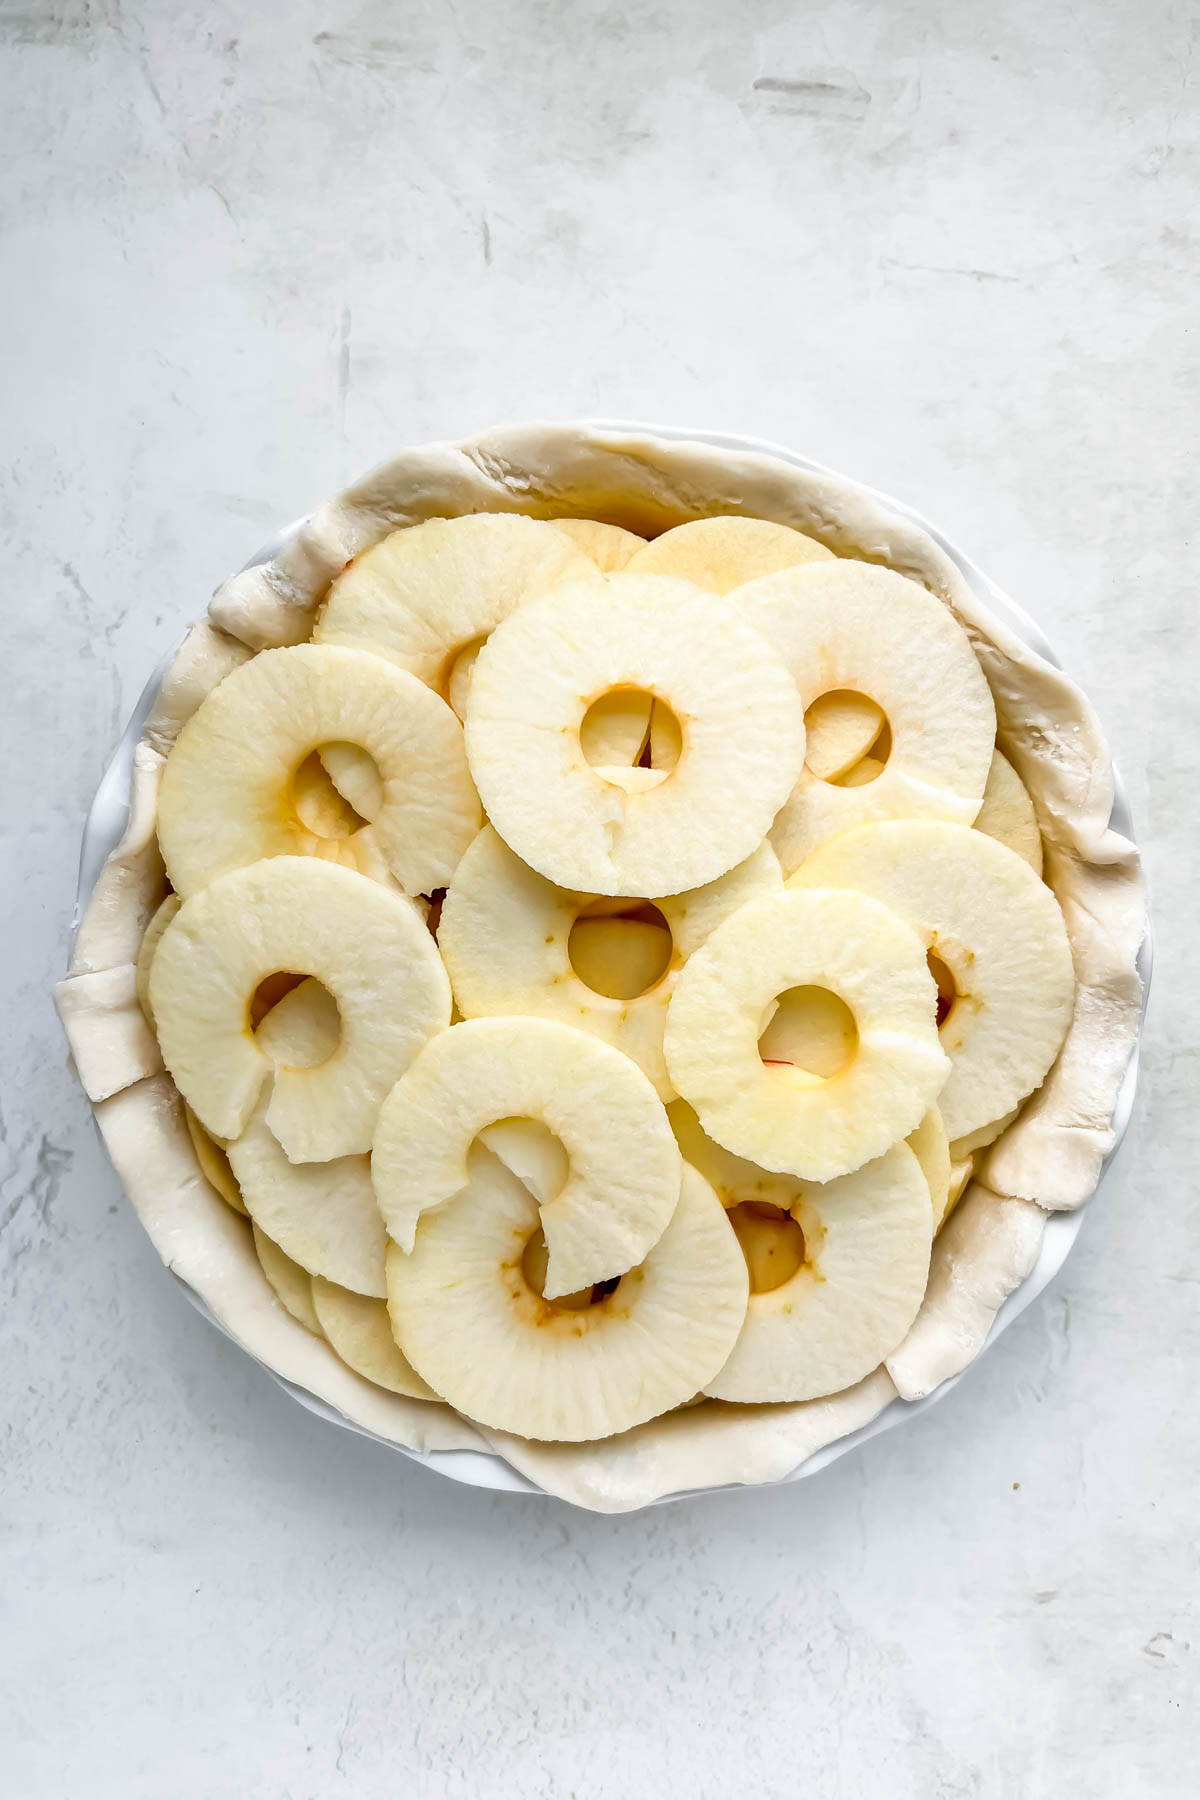
4. Place apple slices into pie crust, arranging in a circle and building inward into a pyramid-like shape. **You absolutely can pour the filling in at this step too, just save a little for the top!
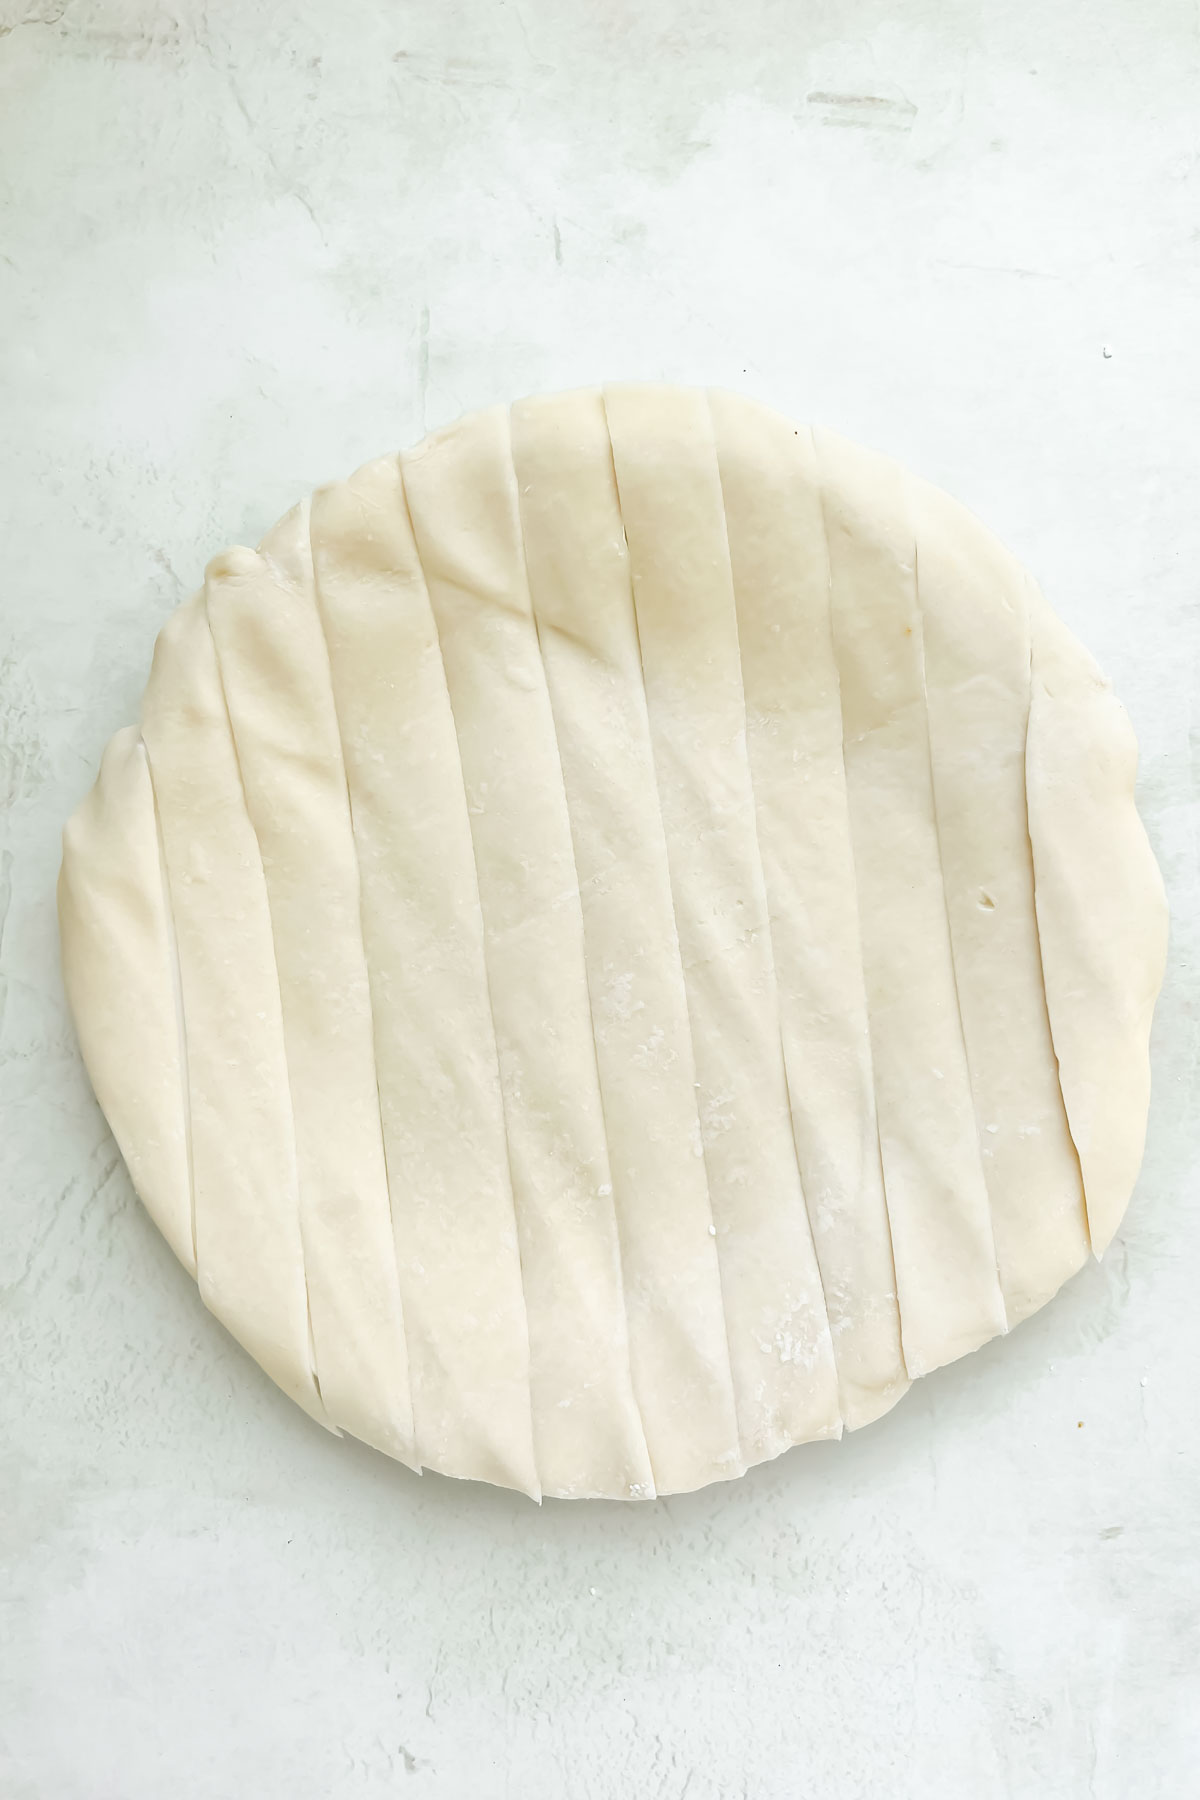
5. Roll out the other pie crust on a cutting board. Then, using a pizza cutter, cut ¾” strips.
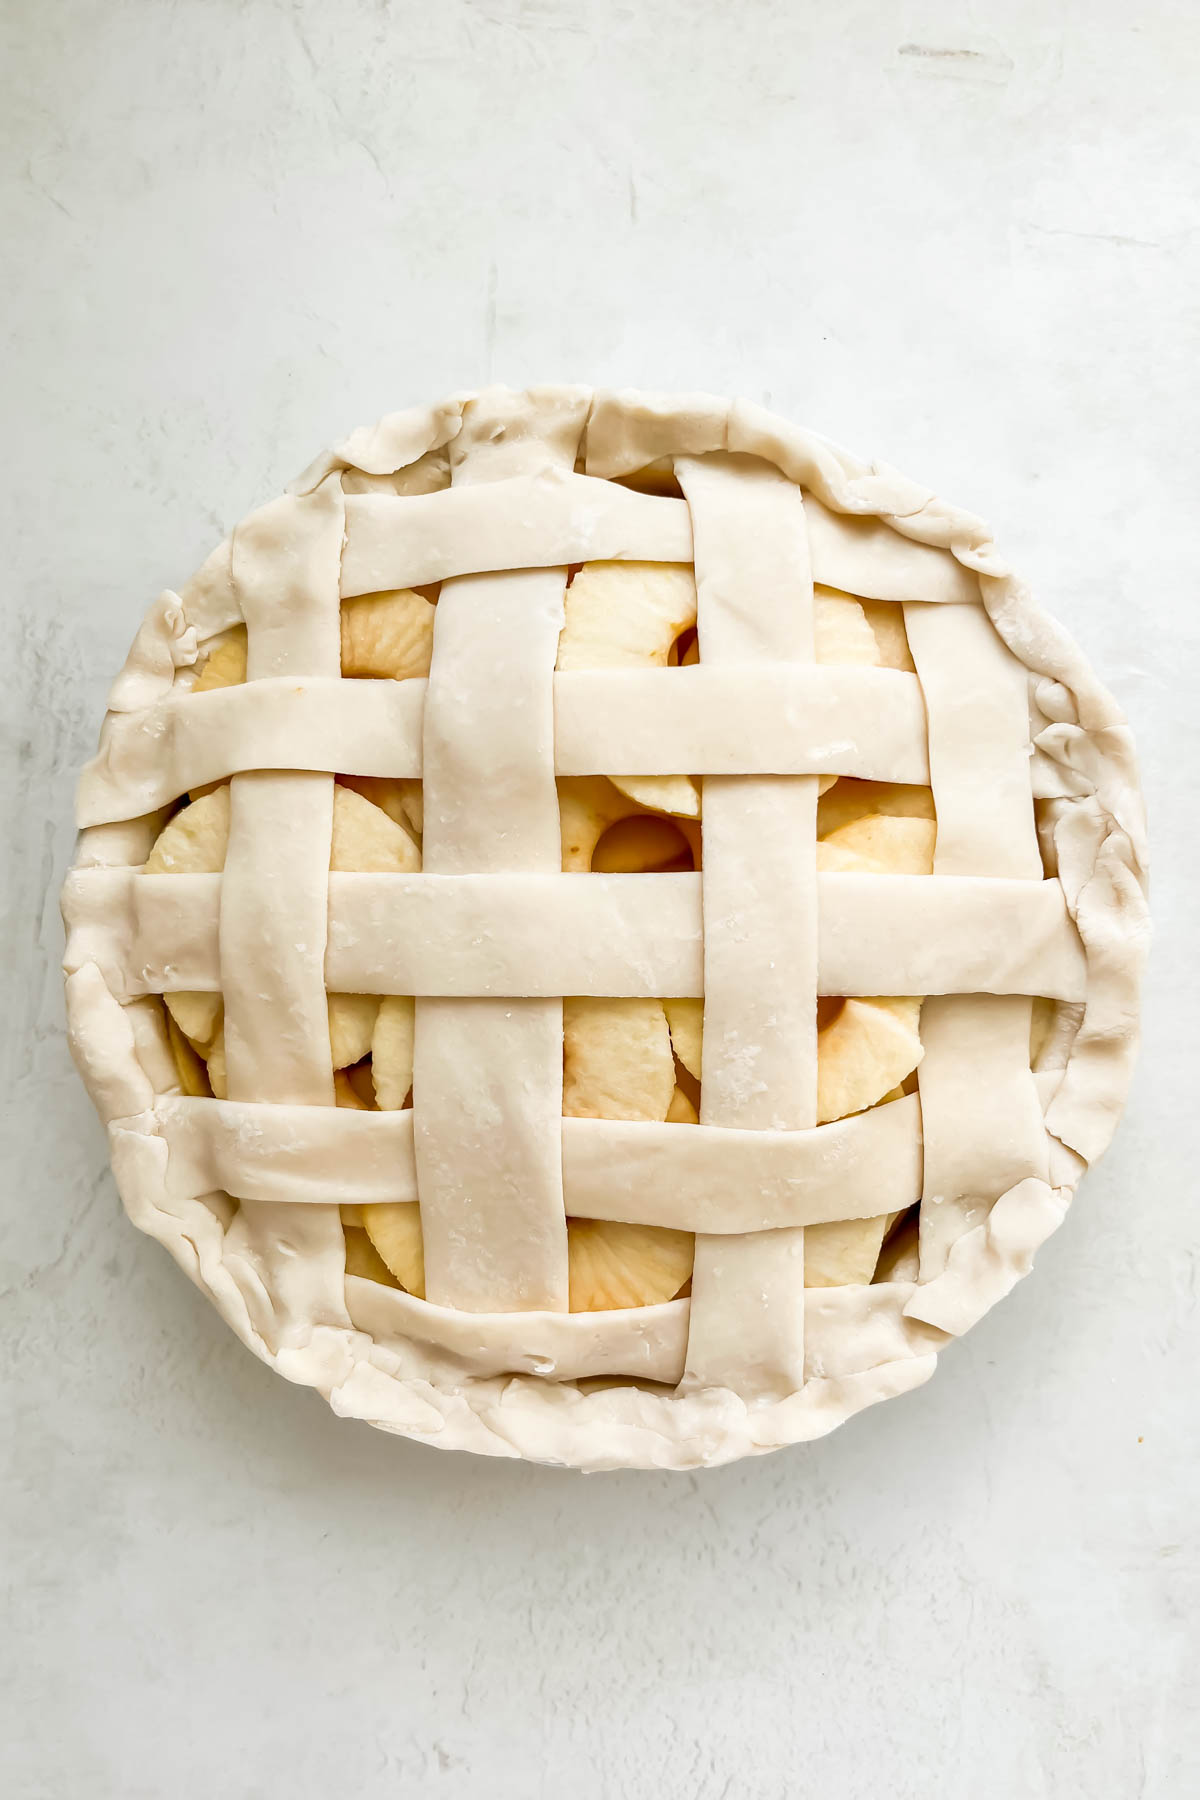
6. Create a lattice design for the top crust by arranging half of the strips vertically and the other half horizontally across the pie.
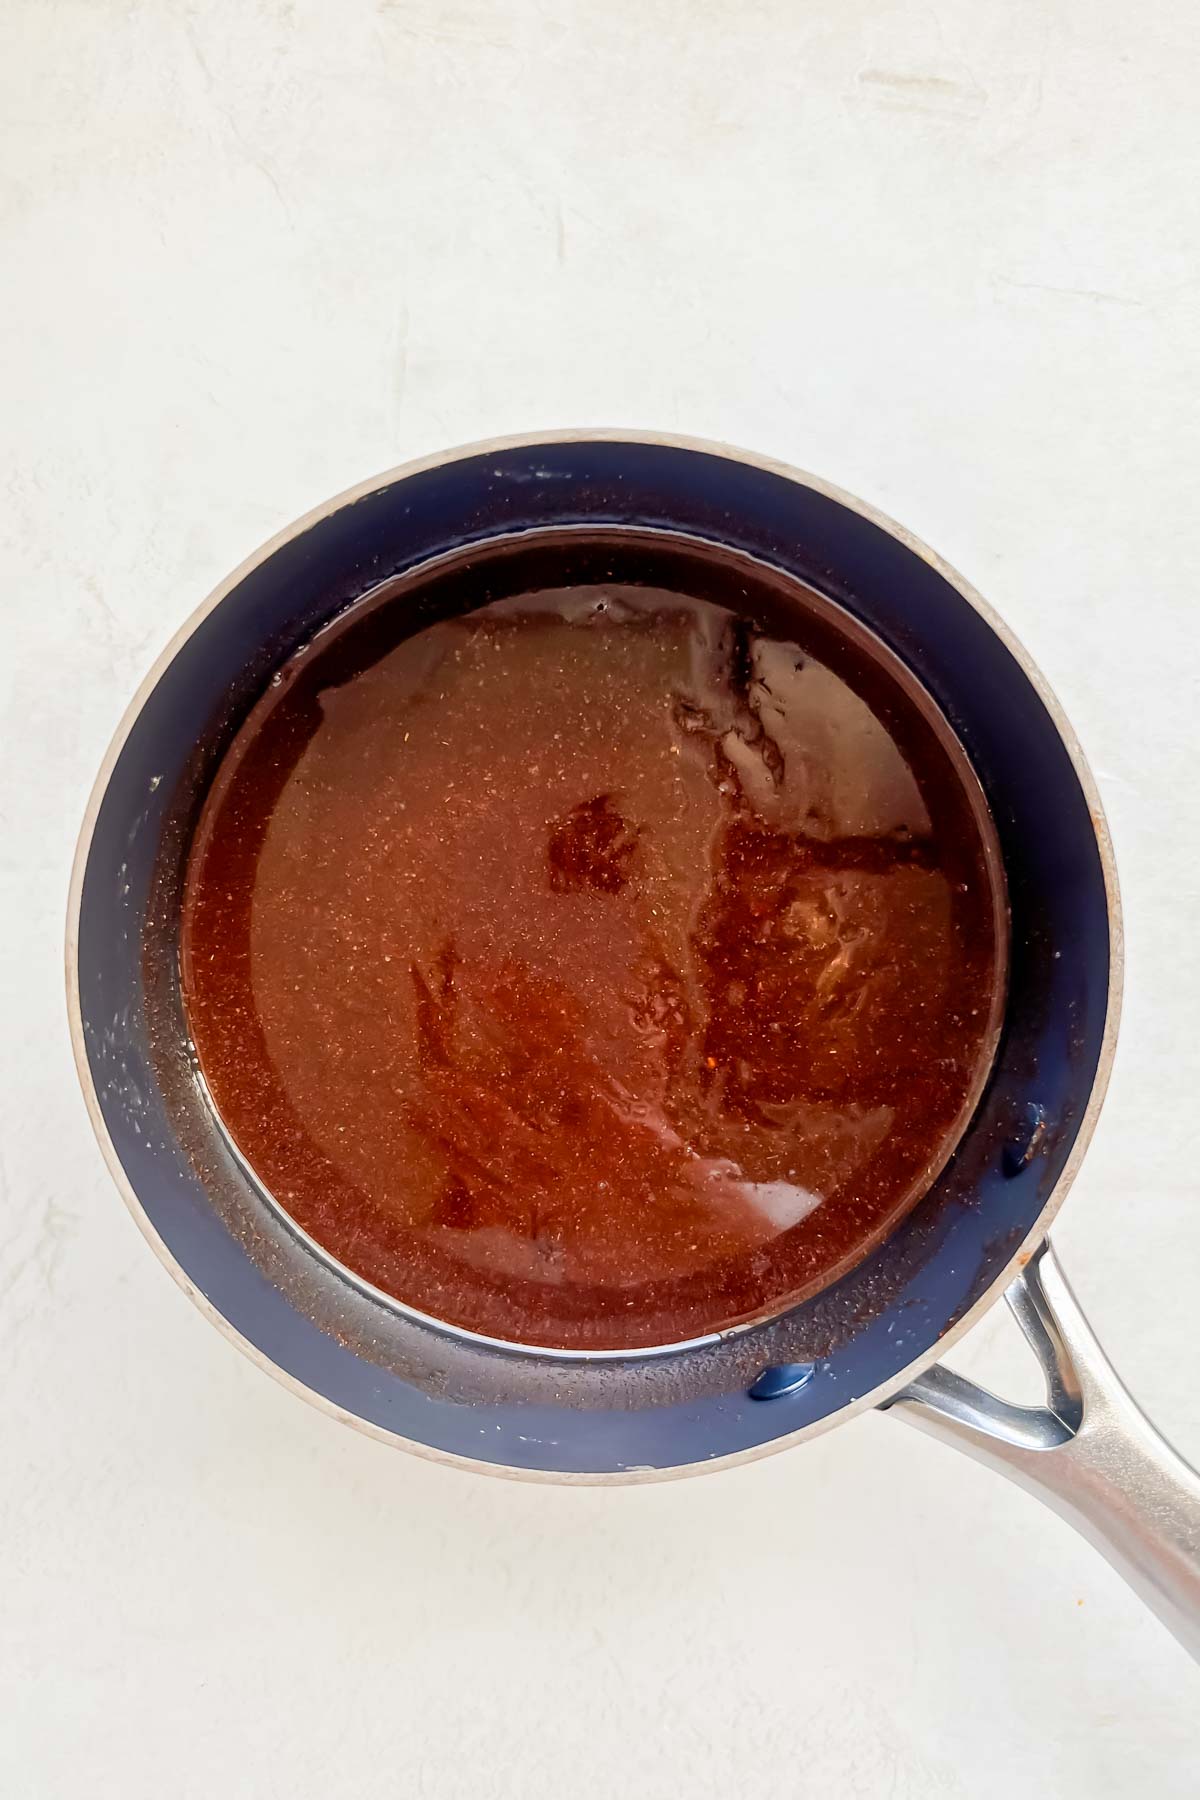
7. Next, heat a sauce pot to medium heat. Melt butter in the pot. Then, whisk in flour. Allow it to come to a paste. It should be fragrant. Add in brown sugar, apple pie spice, white sugar, brown sugar, and water/milk. Whisk again until smooth.
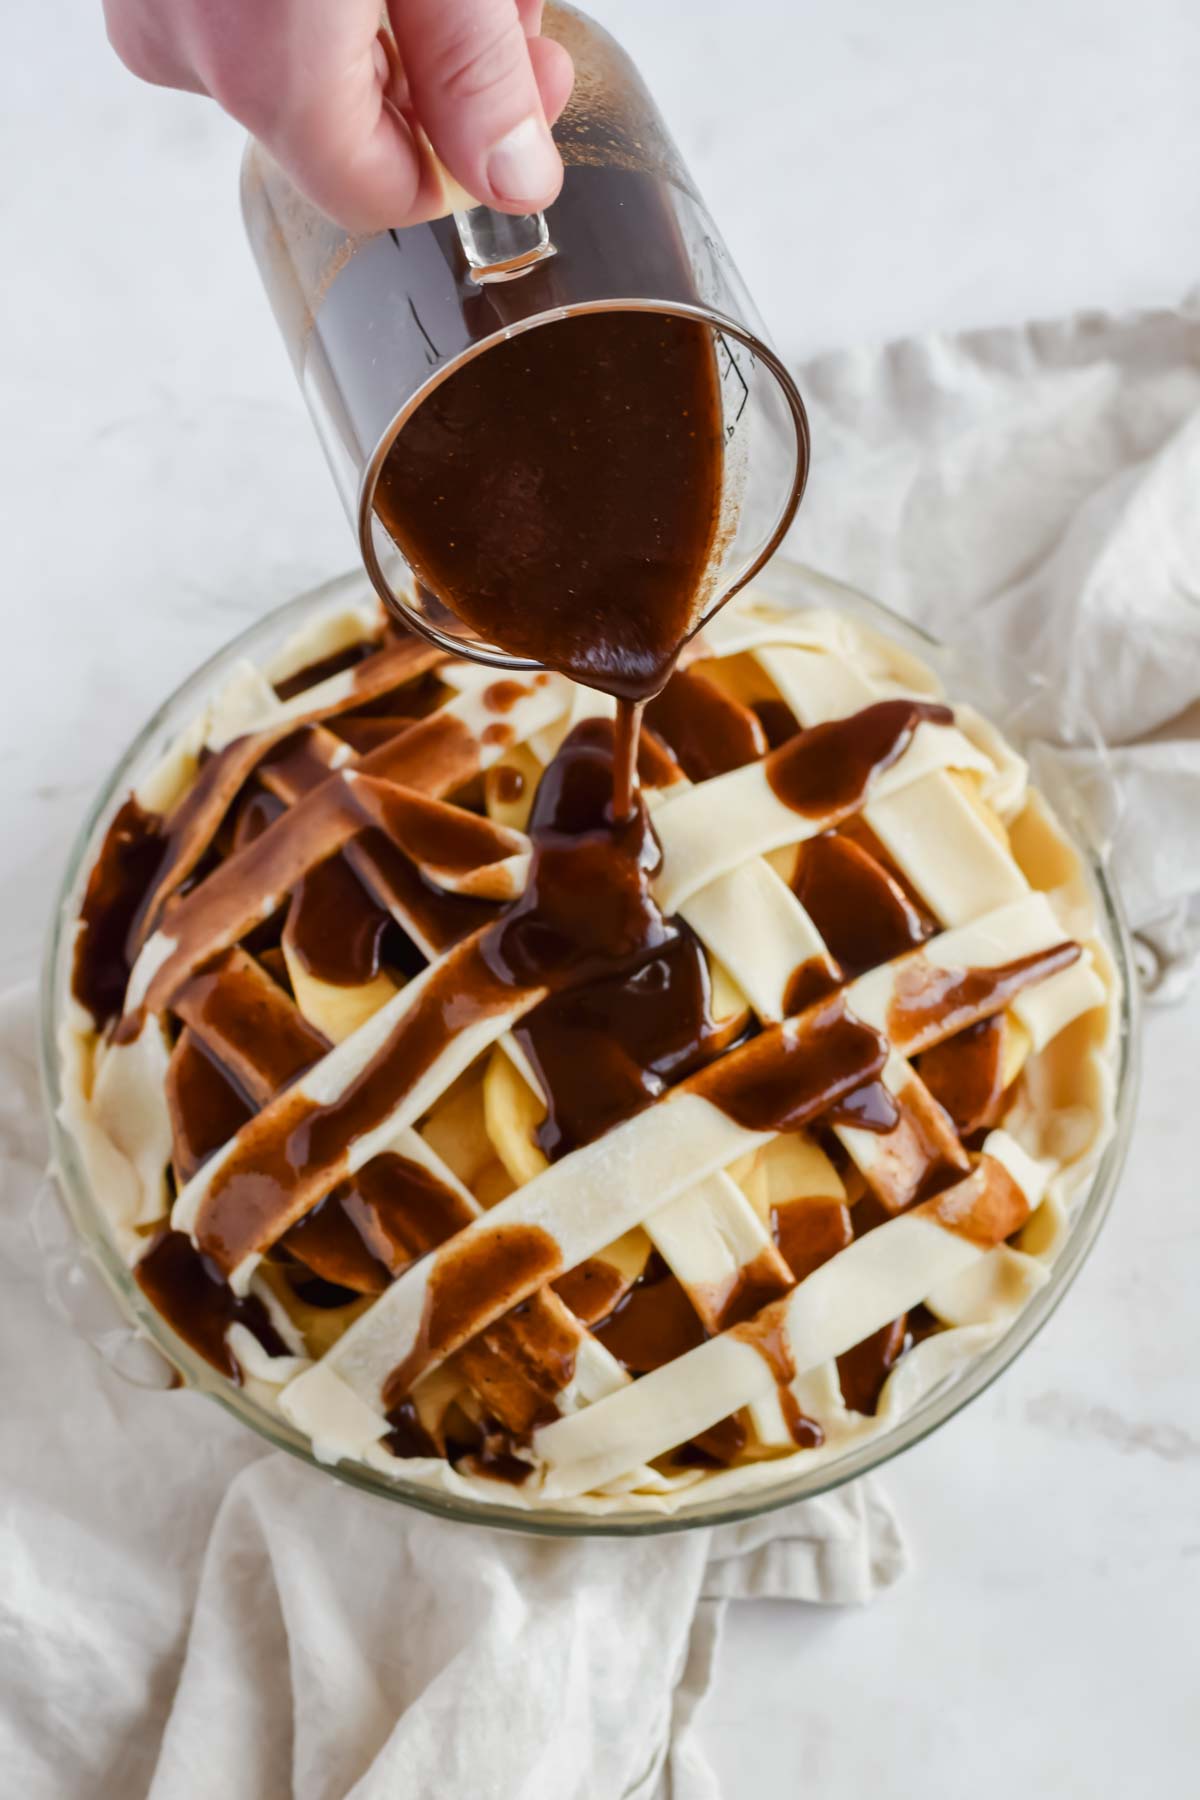
8. Pour the wet mixture over the top of the pie crust. Use a rubber brush to spread it evenly on top (this is instead of an egg wash).
9. Bake the apple pie for 35-45 minutes at 350°F until the crust is golden and apples are cooked. You might want to put the pie on a baking sheet to catch any dripping. Let the baked pie cool completely, then enjoy a slice of warm apple pie!
more of our favorite recipes for Christmas Recipes…
Expert Pie Making Tips
Slicing Apples
Slicing your apples into equal sizes is KEY for a perfect apple pie! I used an Apple Peeler Corer. It’s the best way to achieve desired results. If you do not have one, use VERY thin knife to carefully slice all of the apples into slices less than ⅛” thick.
Perfecting the Crust
If the crust moves past a golden brown starts to burn before the apples are done, don’t panic. The final minutes of baking time are crucial to have the best apple pie, so don’t take it out early. You can line the pie dish with a tinfoil cover to redirect the heat and act as your pie shield.
Recipe FAQs
You can store it in the refrigerator in the pie dish covered with tinfoil or in an airtight container for up to 5 days. To reheat, toss it in the oven at 350°F. You could also microwave it in 60 second intervals until hot.
I know it’s hard, but you need to be PATIENT and let the pie cool before slicing! This will allow the corn starch to really do its job and thicken up the delicious apple juices that were busy caramelizing in the oven. We want an apple pie—not an apple soup!
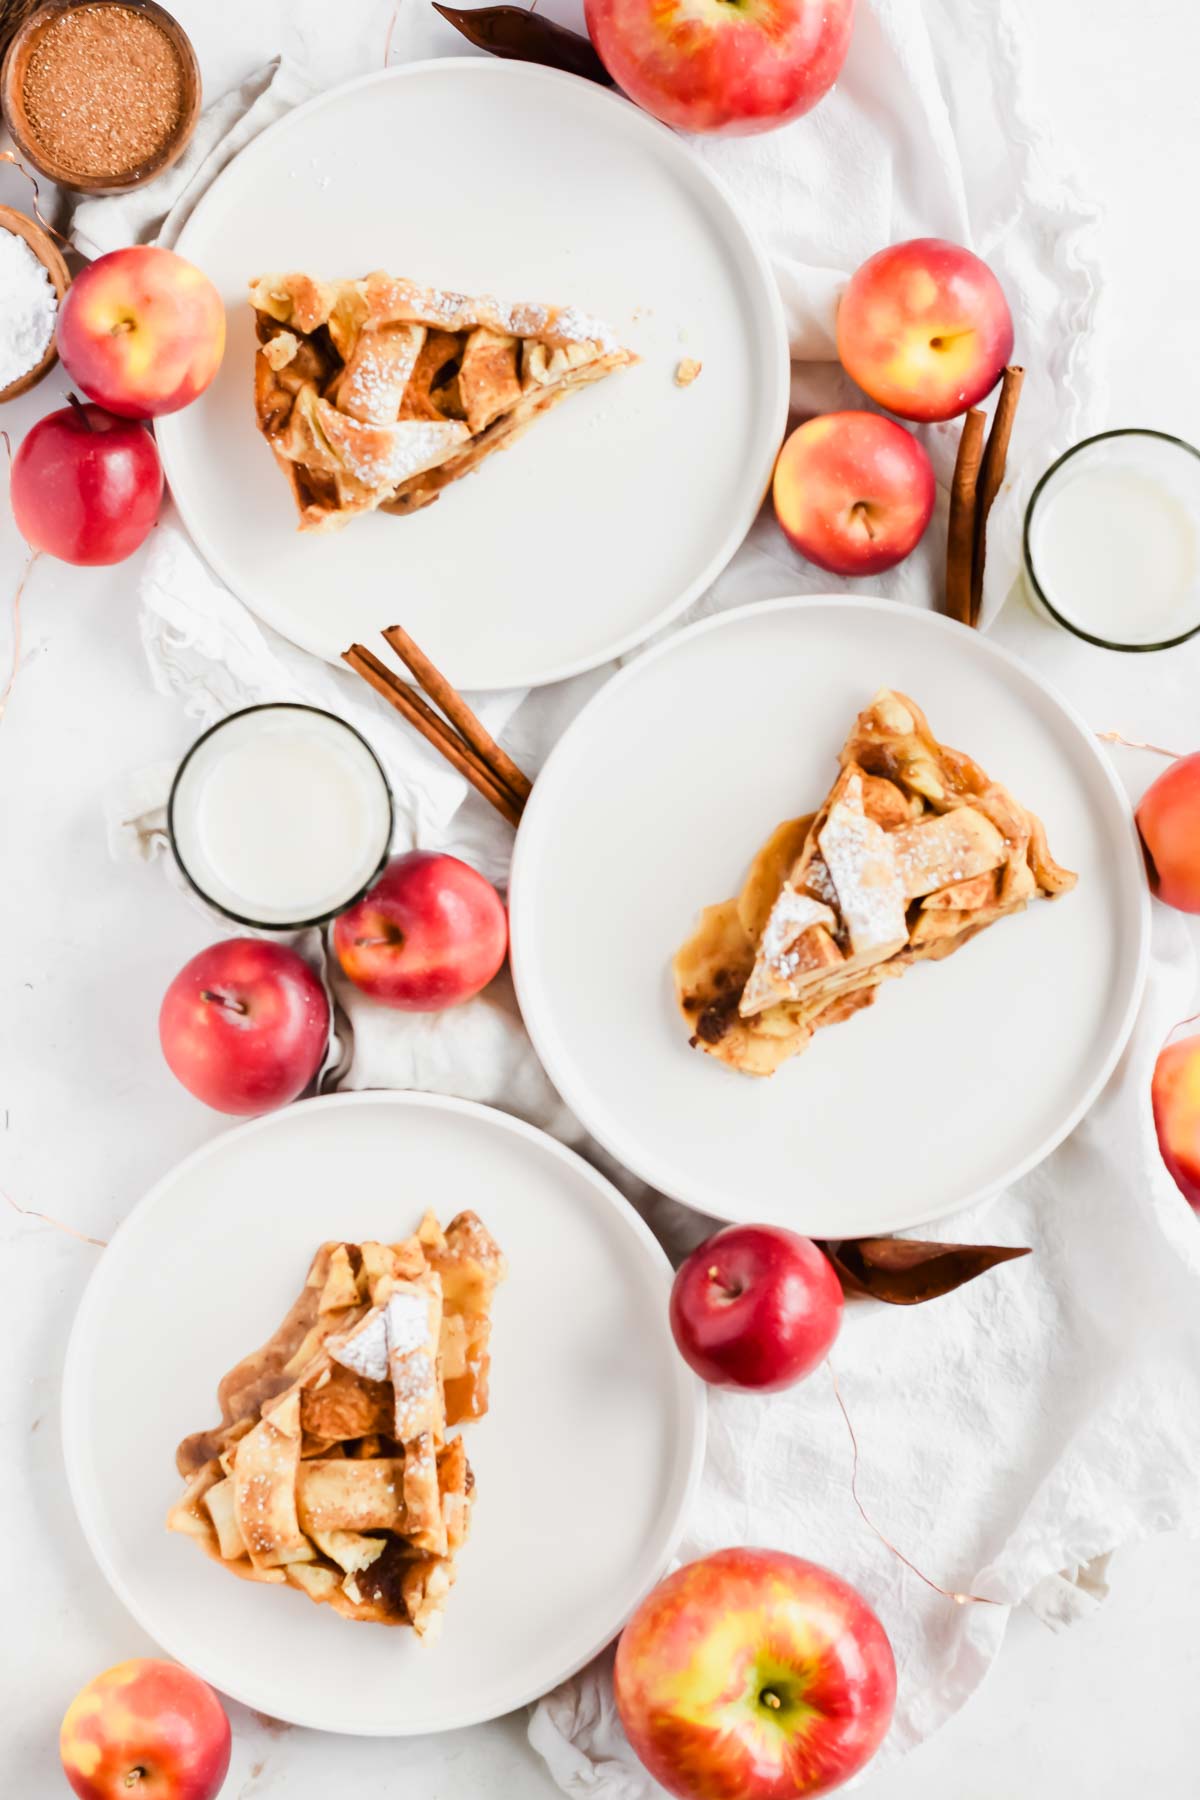
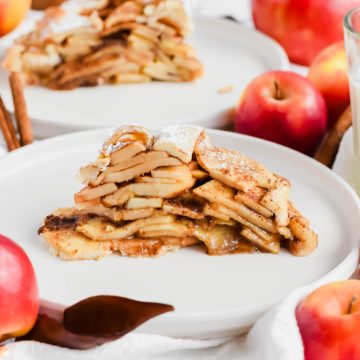
Once the pie is cooled, I suggest using a serrated knife to cut. This will help reduce the amount of crumbs. Be sure to run your knife through your cuts a few times to ensure you’ve cut through the base. Then, I recommend removing your slice carefully with one of the flat sides of the knife or a dessert spatula.
The result? A perfectly sliced piece of delicious apple pie! 😊
Sliced with a big ole scoop of vanilla ice cream, DUH! I also love topping with whipped cream, warm caramel sauce and/or candied pecans.
If you slice your apples thin enough, there’s no need to! This pie is in the oven for long enough and covered with enough moisture from the caramel sauce that they will soften nicely without having to pre-cook them.
More Recipes You’ll Love


Love this recipe? Please leave a 5-star 🌟🌟🌟🌟🌟 rating and comment in the recipe card below. Thanks for visiting!
Easy Apple Pie Recipe with Premade Crust
Equipment
- Apple corer/slicer
- Pie dish
- Pizza Cutter
- Cutting Board
- Chef's Knife
- Vegetable peeler
- Rubber brush
- Saucepan
- Measuring cups and spoons
- Baking sheet (optional)
Ingredients
- 6-7 Honeycrisp apples
- 2 9" pie crusts
- 1 stick butter
- 2 tbsp apple pie spice, see note below
- ¼ cup all purpose flour
- ½ cup white sugar
- ½ cup brown sugar
- 2 tbsp milk
Homemade Apple Pie Spice
- 1 ½ tbsp ground cinnamon
- ½ tsp nutmeg
- ¼ tsp allspice
- ¼ tsp ground ginger
Instructions
- Allow pre-made pie crust to come to room temperature. Preheat the oven to 350°F.
- I use a Apple Corer Slicer for this step as it's the most efficient. Wash the apples prior to running through the Apple Corer Slicer. If you do not have it, wash, peel and remove the cores from the apples. Slice all of the apples into thin rings, about ⅛” inch thick.
- Layer in one of the premade pie crusts into your pie dish. You'll need to confirm with your instructions whether or not to grease the pan.
- Place apple slices into pie crust, arranging in a circle and building in a pyramid-like shape. There are photos in the blog post to show you exactly how this should look if you are confused!

- Roll out the other pie crust on a cutting board. Then, using a pizza cutter, cut ¾” strips.
- Create a lattice design by arranging half of the strips vertically and the other half horizontally across the pie. **you can do this after adding the pie filling too, just reserve a bit to brush across the top!
- Next, heat a sauce pot to medium-heat. Melt butter in the pot. Then, whisk in flour. Allow a paste to form while whisking. It should be fragrant.
- Add in brown sugar, apple pie spice, white sugar, brown sugar, and milk. Whisk again.
- Pour the wet mixture over the entire pie. Use a rubber brush to spread it evenly on top.
- Bake the apple pie for 35-45 minutes at 350°F until the crust is golden and apples are cooked. You might want to put the pie on a baking sheet to catch any drippings.
- Let the pie cool completely before serving (this allows the filling to firm up).
- Serve warm with vanilla ice cream or a glass of milk! ENJOY!


Nutrition
Video
Notes
Looking for this in MyFitnessPal?
If you’re using MyFitnessPal, search ‘A Paige Of Positivity’ and find Simple Apple Pie calories and nutrition facts. Disclaimer: for most accurate macronutrients and caloric breakdown, it is recommended that you input each ingredient into your MyFitnessPal food diary.I’d love to hear your thoughts in the comments below. It’s my passion to create dishes that can be shared with others. Tell me something you loved or just say hi!
more of our favorite Apple Dessert Recipes…
This apple pie is so good it will force your dad stop ranting about how bad the Lions are. Definitely recommend making it for the fam for thanksgiving! For real though, the perfect amount of sweetness and the apples piled a mile high makes this next level good.
THE BEST COMMENT EVER!! wow – I love this
Absolutely delicious! If mine was as pretty as Courtney’s I’d post a picture but it tasted amazing and the apples remained crunchy! Not too many apple pies fit my fancy but this one did!
Incredible to hear this one makes the cut 🙂 thank you for the review!
This apple pie was so delicious! And simple 🙂 I loved that I didn’t have to let the apples sit. The apples were the perfect consistency—not to crunchy and not mushy like applesauce.
This is the best apple pie you will ever have. You have to try it! I promise you will not be disappointed. This is the desert that everyone requests I make for family gatherings. We all love it so much!
Made this apple pie for one of my family’s Christmas celebrations and it was a hit! This was my first time making apple pie. The recipe was easy but created such a delicious dessert! I can’t wait to make it again.
This is the best apple pie you’ll ever eat. period. GOOD WORK, APOP!
if you think apple pie is difficult, this recipe is for you! Courtney breaks it down into such simple and easy to follow steps and it turns out amazing every time!!! we had this for both thanksgiving and christmas and everyone loved it
my dad eating this pie: “that’s the real deal right there”. SO GOOD!
My first time baking an 🍎🥧 EVER, and had I known it could be this easy and so yummy 😋, I would have made it sooner! Love the gooey goodness and the crunchy pie crust! I will definitely be making this more often! Even my husband gave it a thumbs up! Thanks for sharing your mom’s recipe Courtney! 😋 My next baking challenge will be your mom’s carrot cake! 😋!
The flavors on this are spectacular and I’ve never done the round slices this way before. The flavor is a 5 star! I’m giving it a 4 because the sauce to pour over was too much so it was super saucy even after baking it 45 minutes. Next time I won’t add the 1/4c water and think it will be perfect!
Thank you for the review!
Can the spice mixture be poured on the apples before adding the top pie crust layer or lattice?
Hey Rosa! Yes absolutely. I’d save at least a little bit to brush on the top so you get a golden brown lattice crust. If you forget, no worries, just brush it with an egg wash so it gets golden brown. I’m making this as I type! Can’t wait for you to enjoy!